*contains affiliate links / [Ad]


Anyone who has been eating plant-based for a while or simply enjoys alternatives to cow’s milk knows the supermarket dilemma: look at the back of most oat, almond, or cashew milks, and you will almost always stumble across unnecessary sugar, stabilizers, emulsifiers, or oils. On top of that, the actual nut content is often shockingly low—most of the time, you’re just buying expensive water in a carton that ends up in the trash.
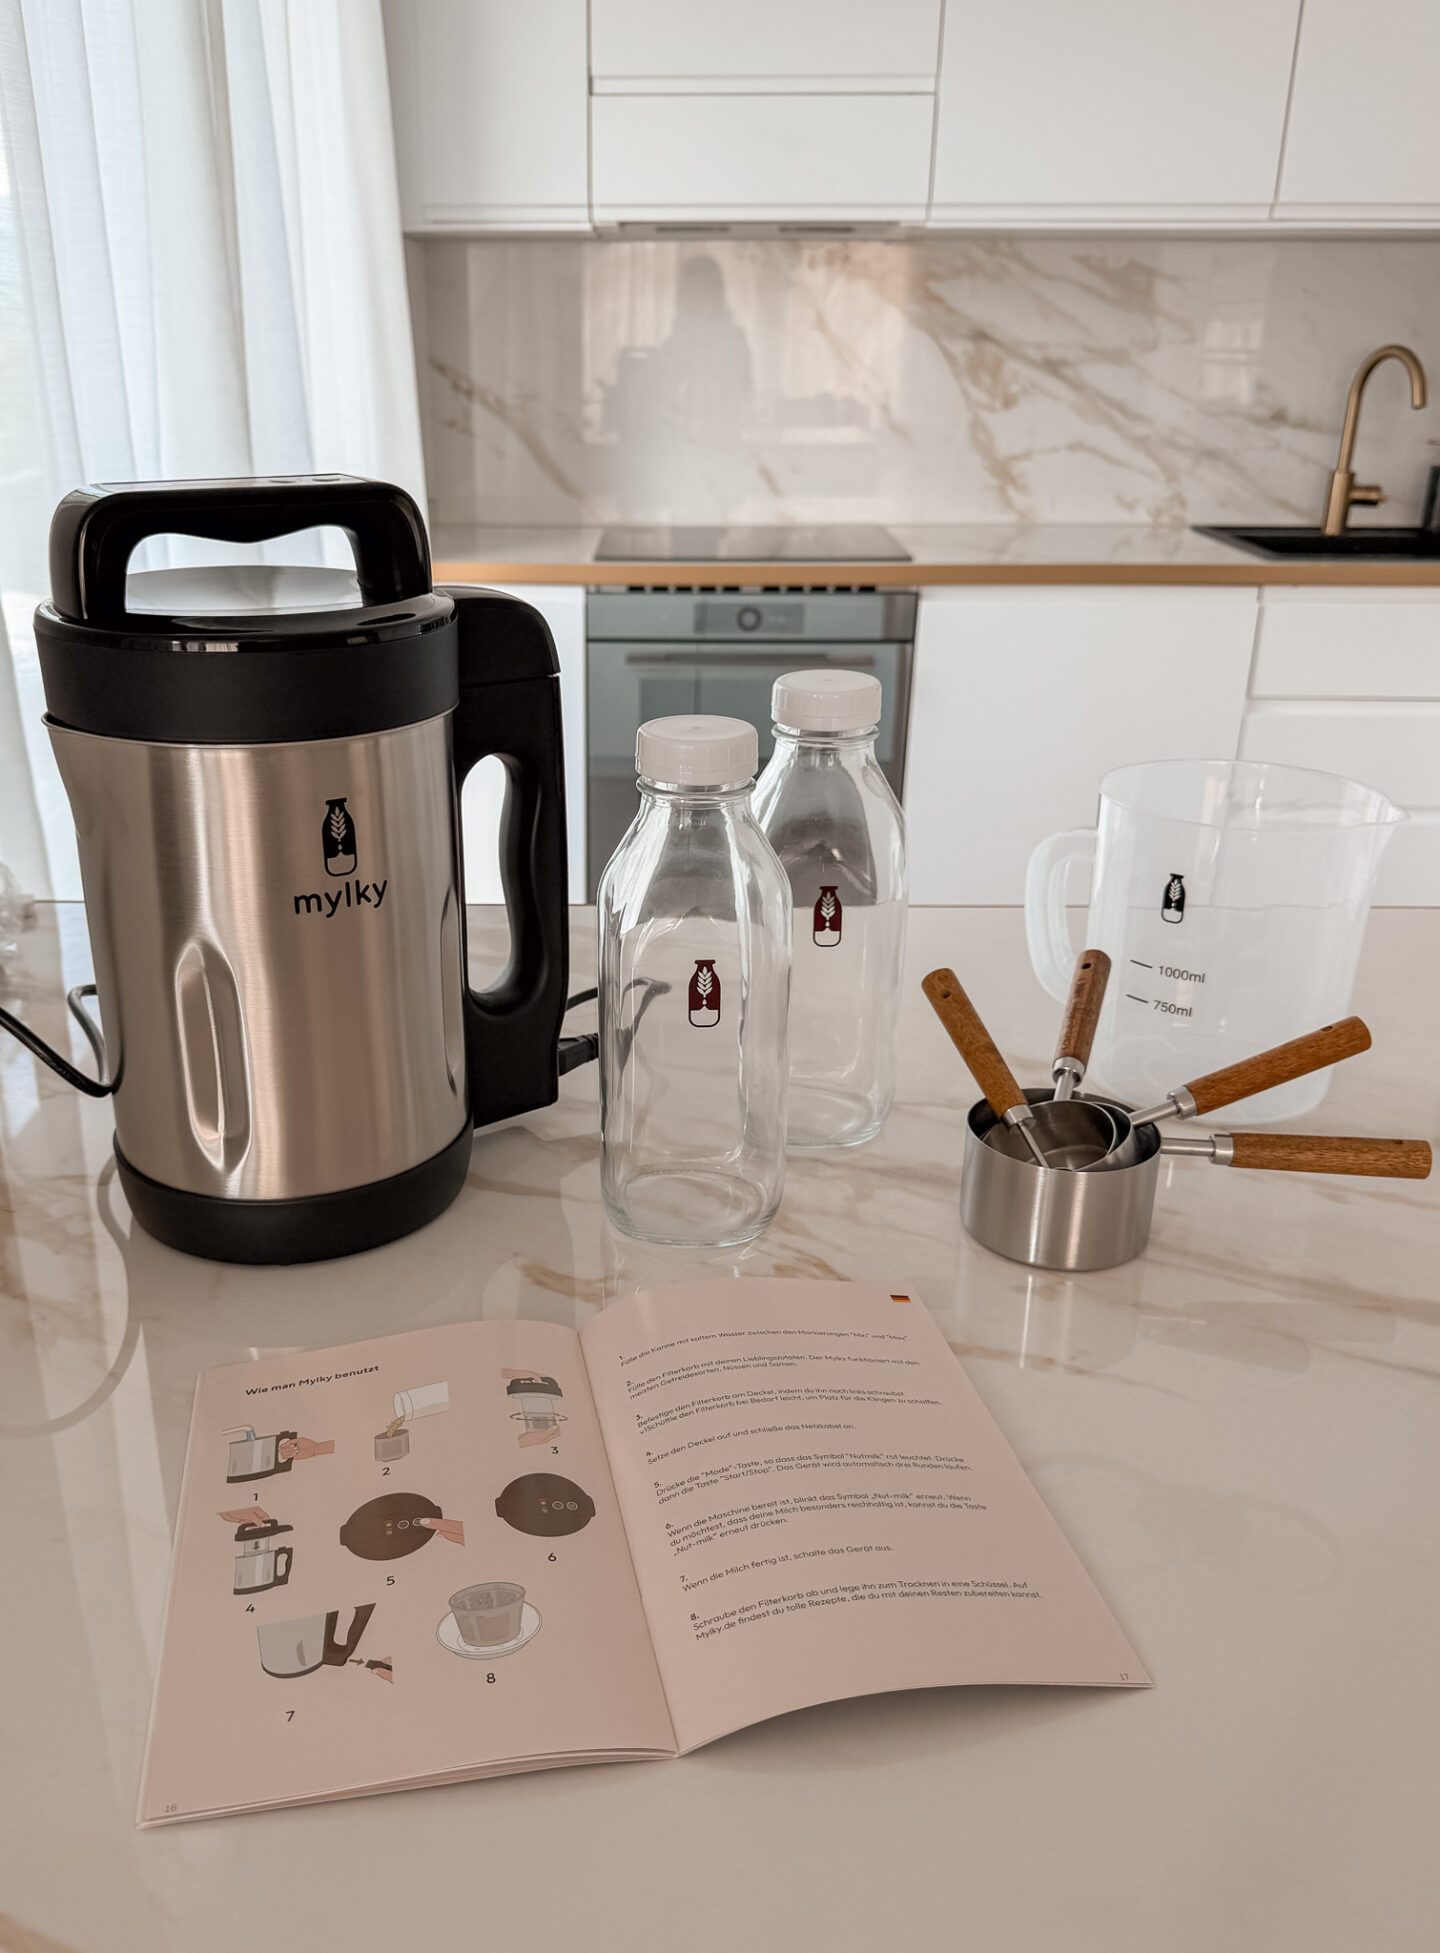
I have been thoroughly testing the Mylky machine in my kitchen over the past few weeks. My goal was to find out if making your own plant-based milk really saves time and waste in everyday life, and whether the result can compete with premium store-bought brands when it comes to taste.
If reading this makes you want to try the machine for yourself, you can use my personal code 10PRISCILLA to save 10 €/CHF directly on your order.
👉 Click here to find the Mylky machine directly in the online shop
Why a Plant Milk Machine in the First Place?

I used to try making almond milk in a classic countertop blender. That meant soaking nuts overnight, blending, painstakingly squeezing the mixture through a damp nut milk bag, and then cleaning up half the kitchen. Honestly, the effort was just too much for me.
The Mylky machine shortens this entire process to just a few minutes. The principle is simple: the machine grinds the ingredients extremely fine and filters the liquid through a built-in sieve. You don’t have to soak anything in advance or wring it out by hand afterward.
Recipe: Creamy Barista Almond Milk from the Mylky


Store-bought almond milk often tastes quite watery. When you make it yourself, you can completely determine the intensity and creaminess by adjusting the amount of nuts. Here is my absolute favorite recipe for everyday use:
Ingredients
-
80g to 100g unpeeled/raw almonds (leaving the skins on gives a richer note; blanched almonds make the milk pure white)
-
1 liter cold water
-
1 to 2 soft dates (for a subtle, natural sweetness)
-
A small pinch of sea salt (crucial for bringing out the nut flavor)
-
Optional: Half a teaspoon of vanilla extract
Preparation
-
Place the almonds along with the date, salt, and vanilla into the container of the Mylky machine.
-
Fill the water tank up to the 1-liter mark.
-
Select the appropriate program for nut milk and start the process.
-
After just a few minutes, the machine filters the fresh, ready-to-drink almond milk directly into your carafe.
Priscilla’s Tip: If you want to froth the almond milk for your coffee, simply add a small teaspoon of cashews or a splash of high-quality rapeseed oil to the machine. The fats ensure that the milk froths up beautifully and stays stable!
Zero Waste in Practice: What Happens to the Pulp?


A major criticism of making your own milk is often the waste. The so-called “pulp”—the fine nut residue left behind in the sieve after filtering—unfortunately ends up in the organic waste bin far too often. Yet, it is pure, valuable almond flour packed with fiber and protein!
I collect the damp pulp in a small screw-top jar in the fridge after every run. It is perfect as a base for porridge, for thickening sauces, or—you guessed it—for freshly baked cookies.
Recipe: Chewy Chocolate Chunk Cookies from Almond Pulp
These cookies are the ultimate proof that sustainability can taste incredibly delicious. They are slightly crispy on the outside, wonderfully chewy on the inside, and the perfect companion for your afternoon coffee.
Ingredients
-
The fresh almond pulp (from one run of almond milk, approx. 70–80g)
-
100g rolled oats (briefly blended into a fine flour)
-
3 tbsp maple syrup or agave nectar
-
2 tbsp liquid coconut oil or melted vegan margarine
-
1 tsp baking powder
-
A generous handful of dark chocolate chunks
-
A pinch of cinnamon
Preparation
-
Preheat the oven to 180°C (conventional top/bottom heat) and line a baking sheet with parchment paper.
-
In a bowl, mix the still slightly damp almond pulp with the oat flour, baking powder, and cinnamon.
-
Add the coconut oil and maple syrup, then knead everything into a moldable, slightly sticky dough. If the dough feels too dry, add 1–2 tablespoons of your freshly made almond milk.
-
Finally, gently fold in the chocolate chunks.
-
Shape the dough into balls, place them on the baking sheet, and press them flat (the cookies barely spread while baking).
-
Bake for about 12 to 15 minutes until the edges are lightly golden brown. Let them cool completely after baking, as they are still very soft when warm.
My Honest Verdict: Is It Worth the Investment?
After several weeks of daily use, I wouldn’t want to miss the Mylky machine anymore. Cleaning is surprisingly fast (usually just a quick rinse right after use is enough), and the taste of truly fresh plant milk simply cannot be compared to packaged store-bought versions.
Financially, it pays off especially if you buy high-quality nuts in bulk—and of course, it works just as brilliantly for oat milk and other variations. If you consume a lot of plant-based milk, you’ll quickly make up the initial cost with the money saved on expensive supermarket cartons—all while doing something good for the environment. Plus, you can tailor the flavor exactly to your personal taste during production.
Kitchen Savings Tip
If you want to try the device out for yourself or have been thinking about reducing your plastic waste in the kitchen for a while, feel free to use my exclusive discount code.
-
🥛 CODE:
10PRISCILLA -
🌰 Perk: Save 10 €/CHF directly on your new machine.
👉 Click here to go directly to the Mylky shop and redeem your discount
Have you ever made your own plant milk, or do you already use a similar device? Let me know your favorite combinations in the comments below!
Yours,
Priscilla

