Advertisement

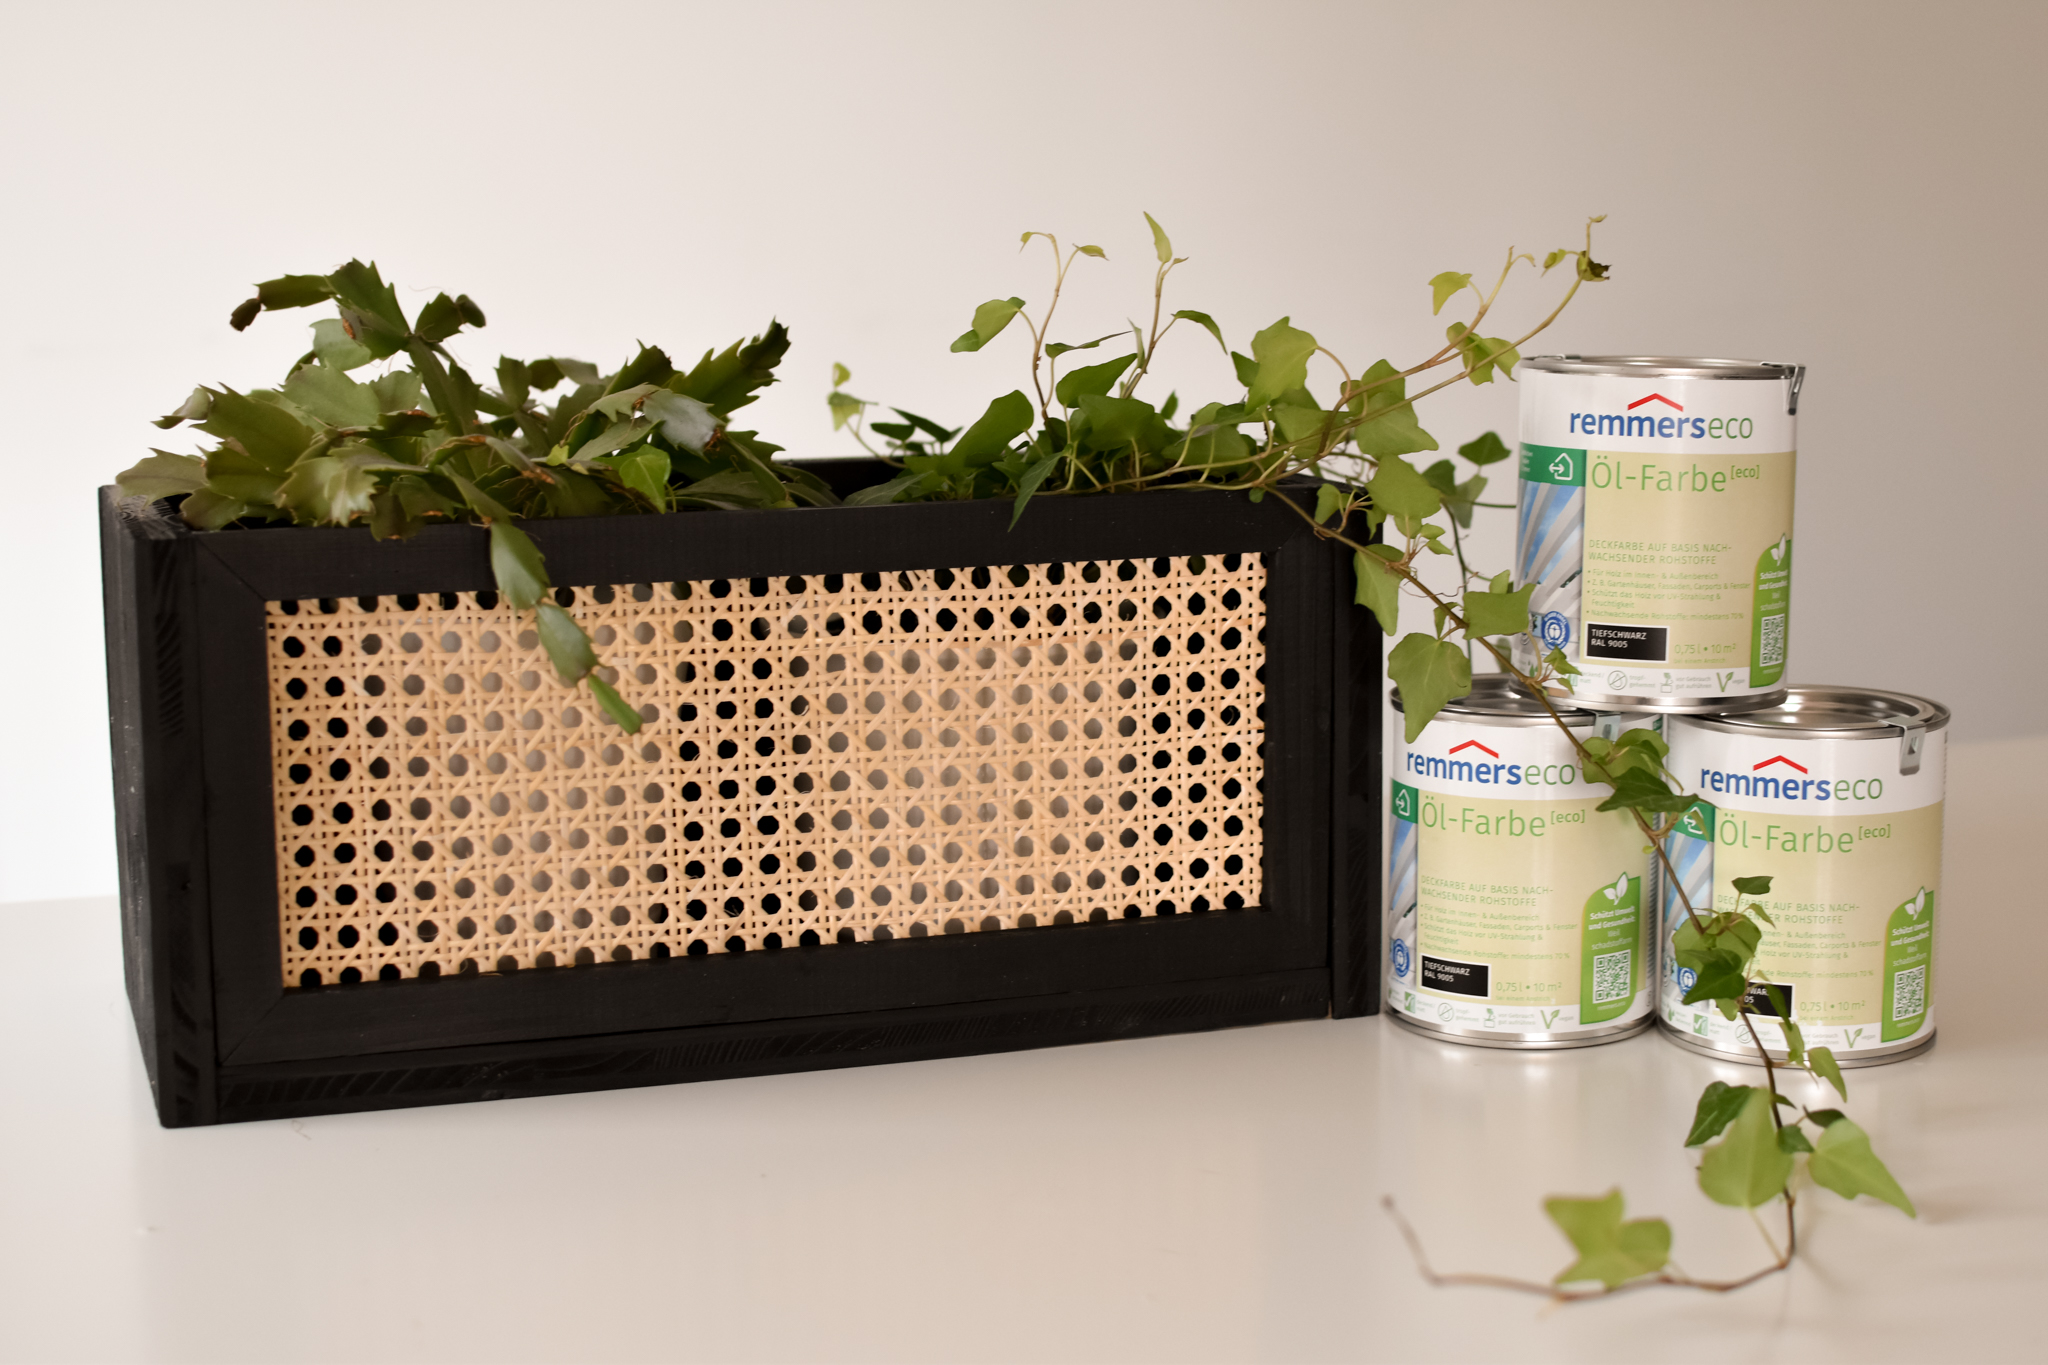
Today I show you a very cool DIY for your home and namely I was allowed to choose the matching oil paint [eco] from remmers. Absolutely in the trend is currently yes wicker in all imaginable versions, so it had to be in this DIY with the game. Then I would say, let’s get to work.
Materials for the DIY plant box
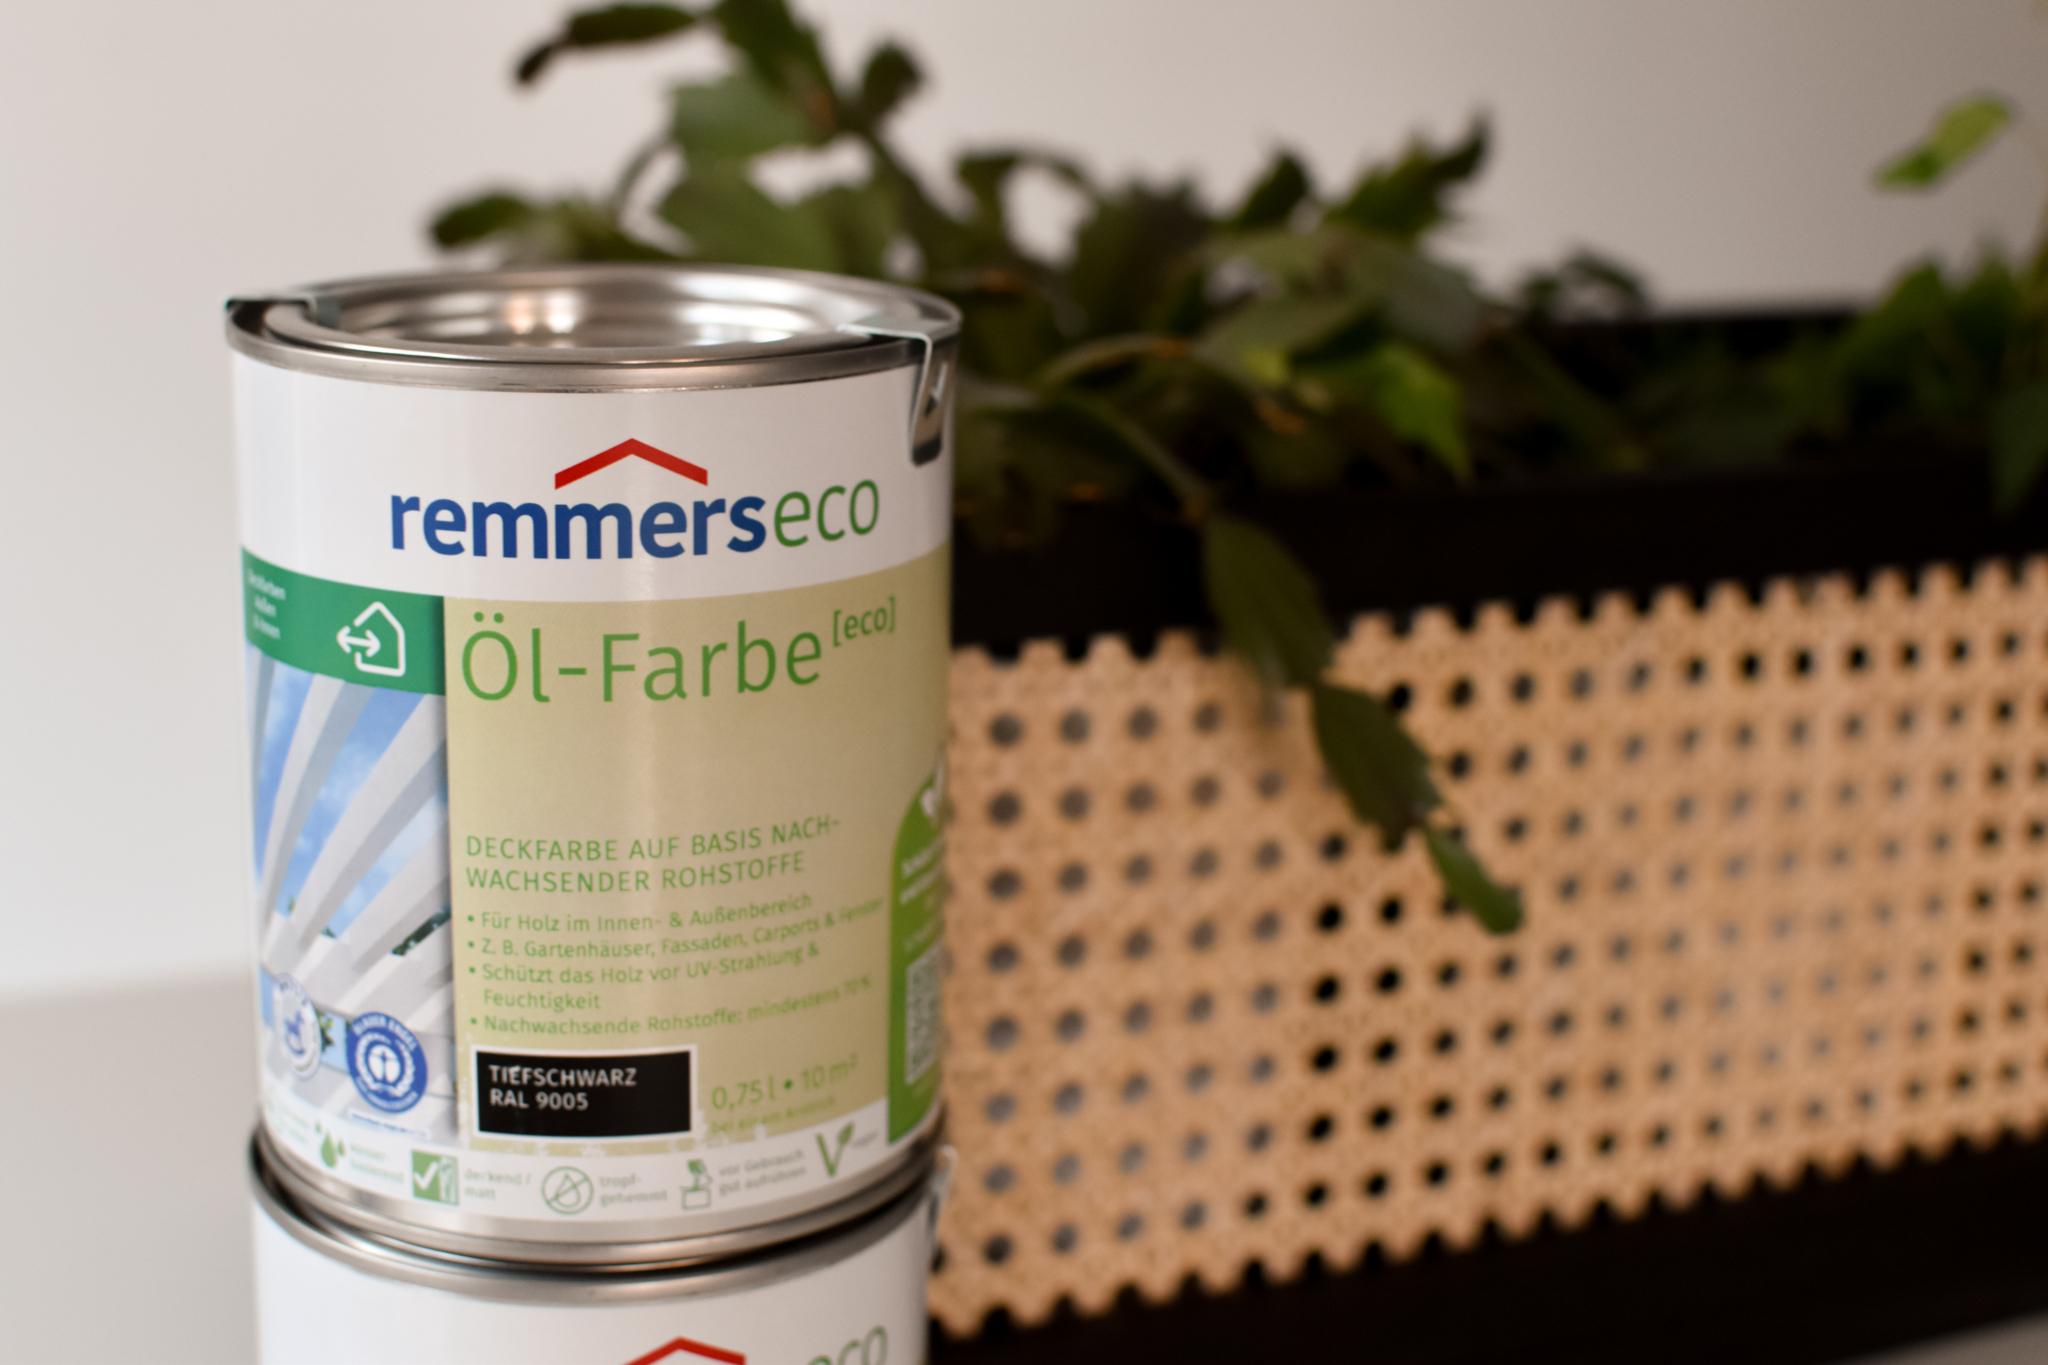
- remmers oil paint [eco] in the color deep black
- Spruce wood board 140 cm long, 19.5 cm wide and 2 cm thick
- Rectangular strip 100 cm long, 2.3 cm wide and 0.9 cm thick
- Sanding block and sandpaper 120 and 180 grain
- wood glue
- wooden dowel
- Cane
- Staples
- Acrylic bristle brush
- Mohair roller
Step 1: Cutting the wood components
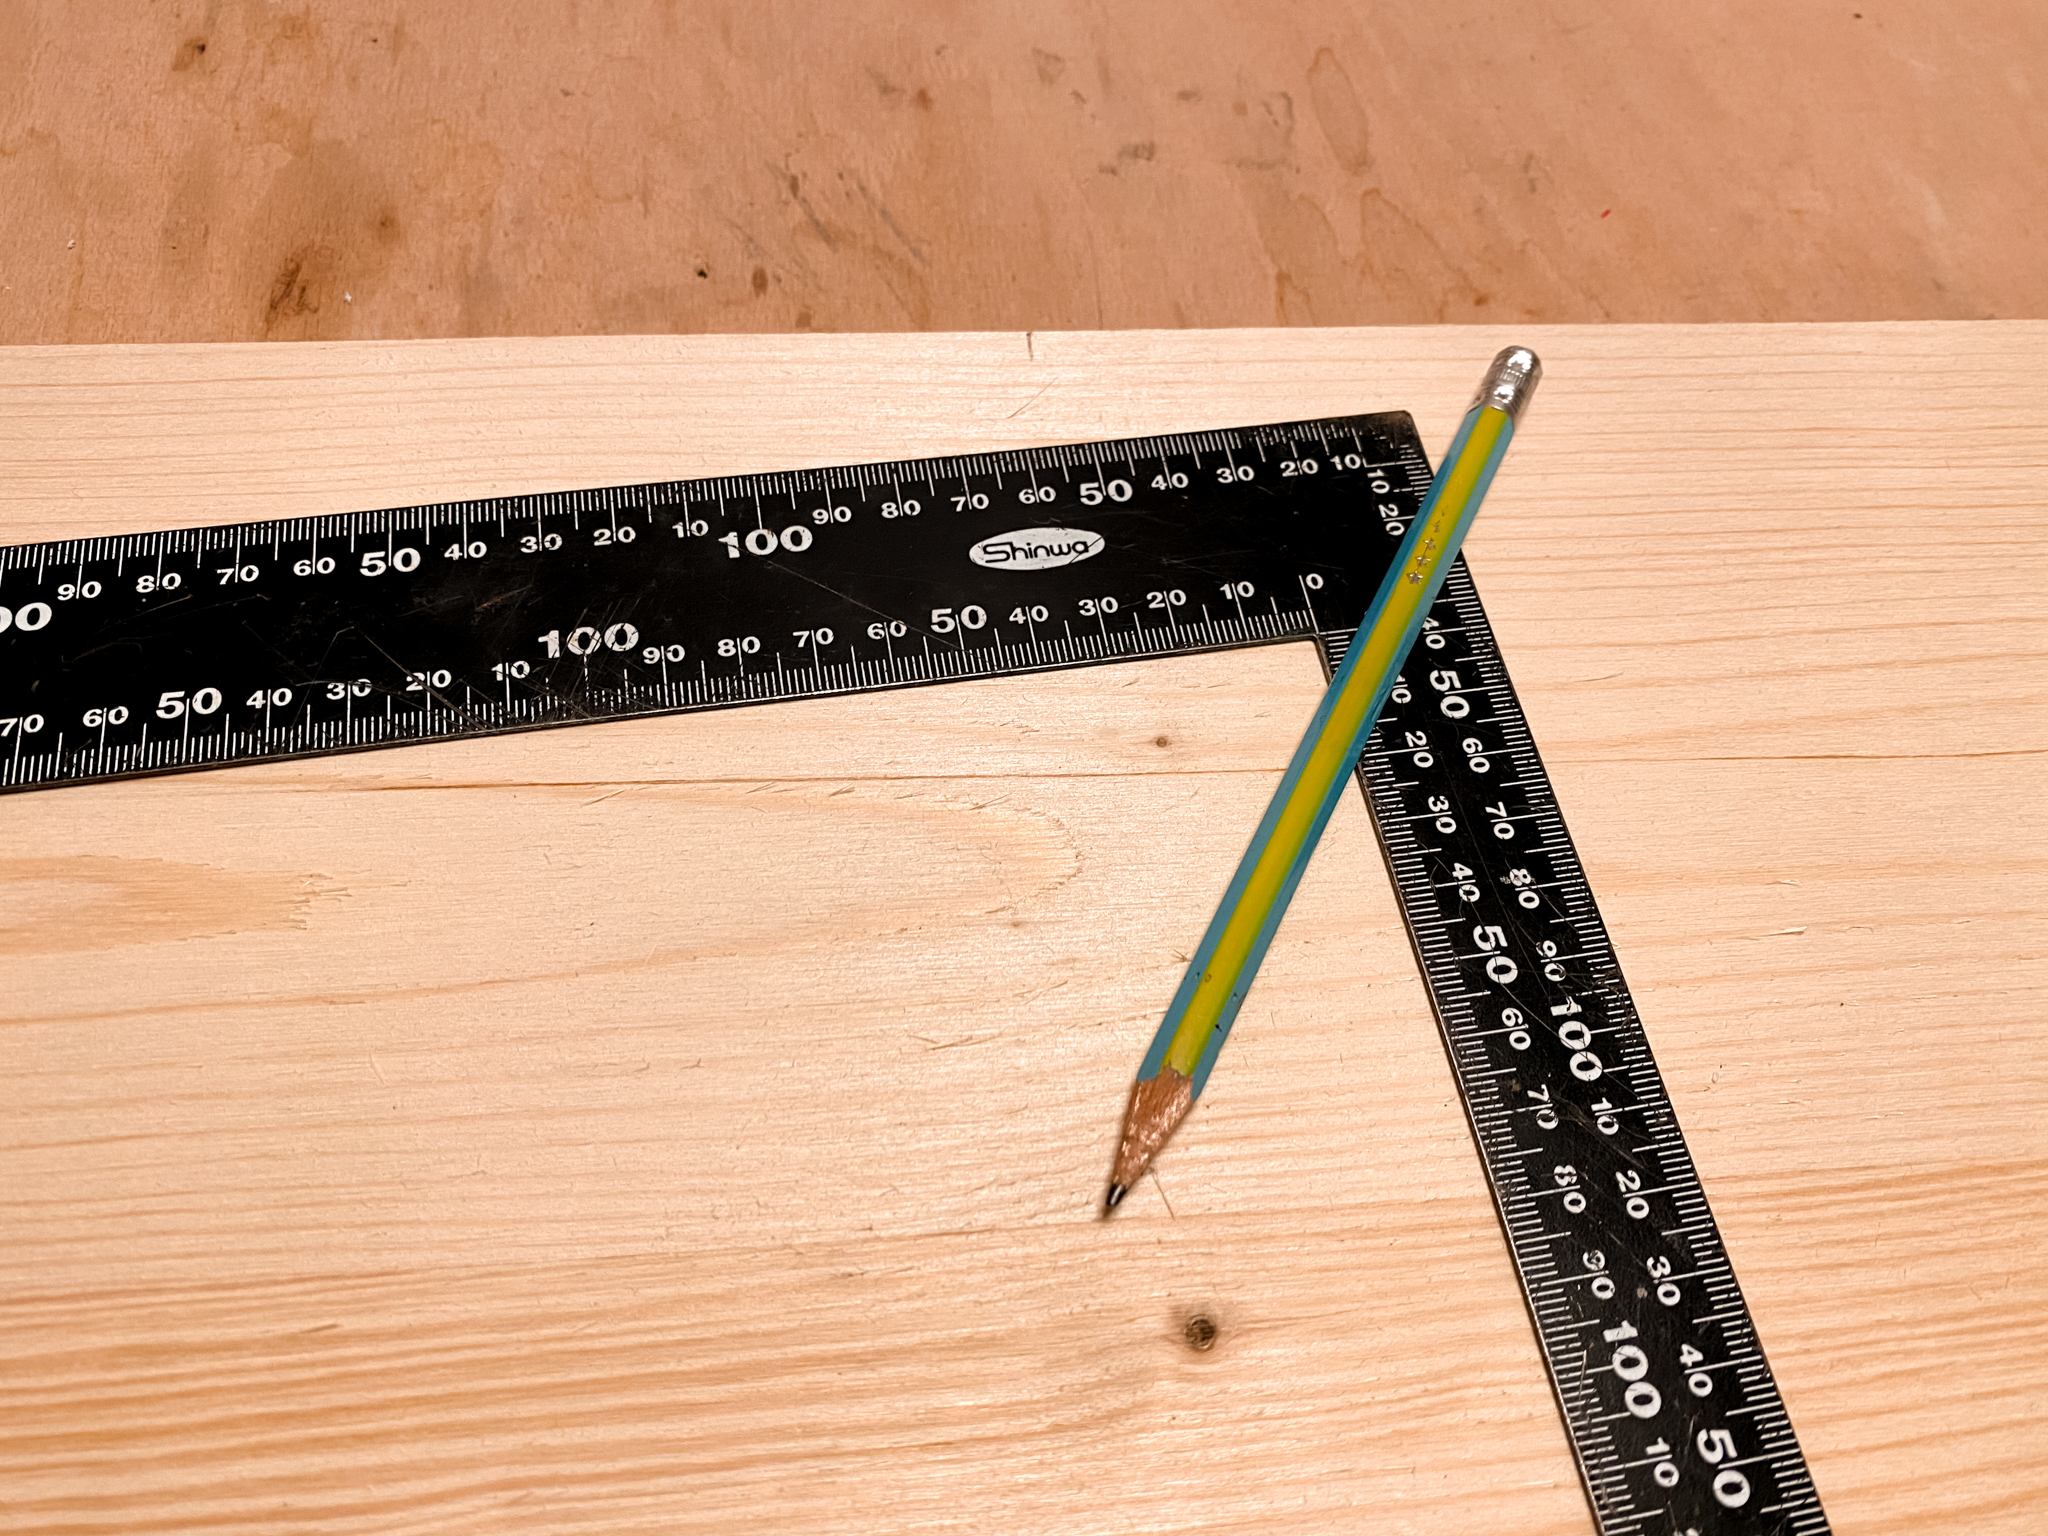

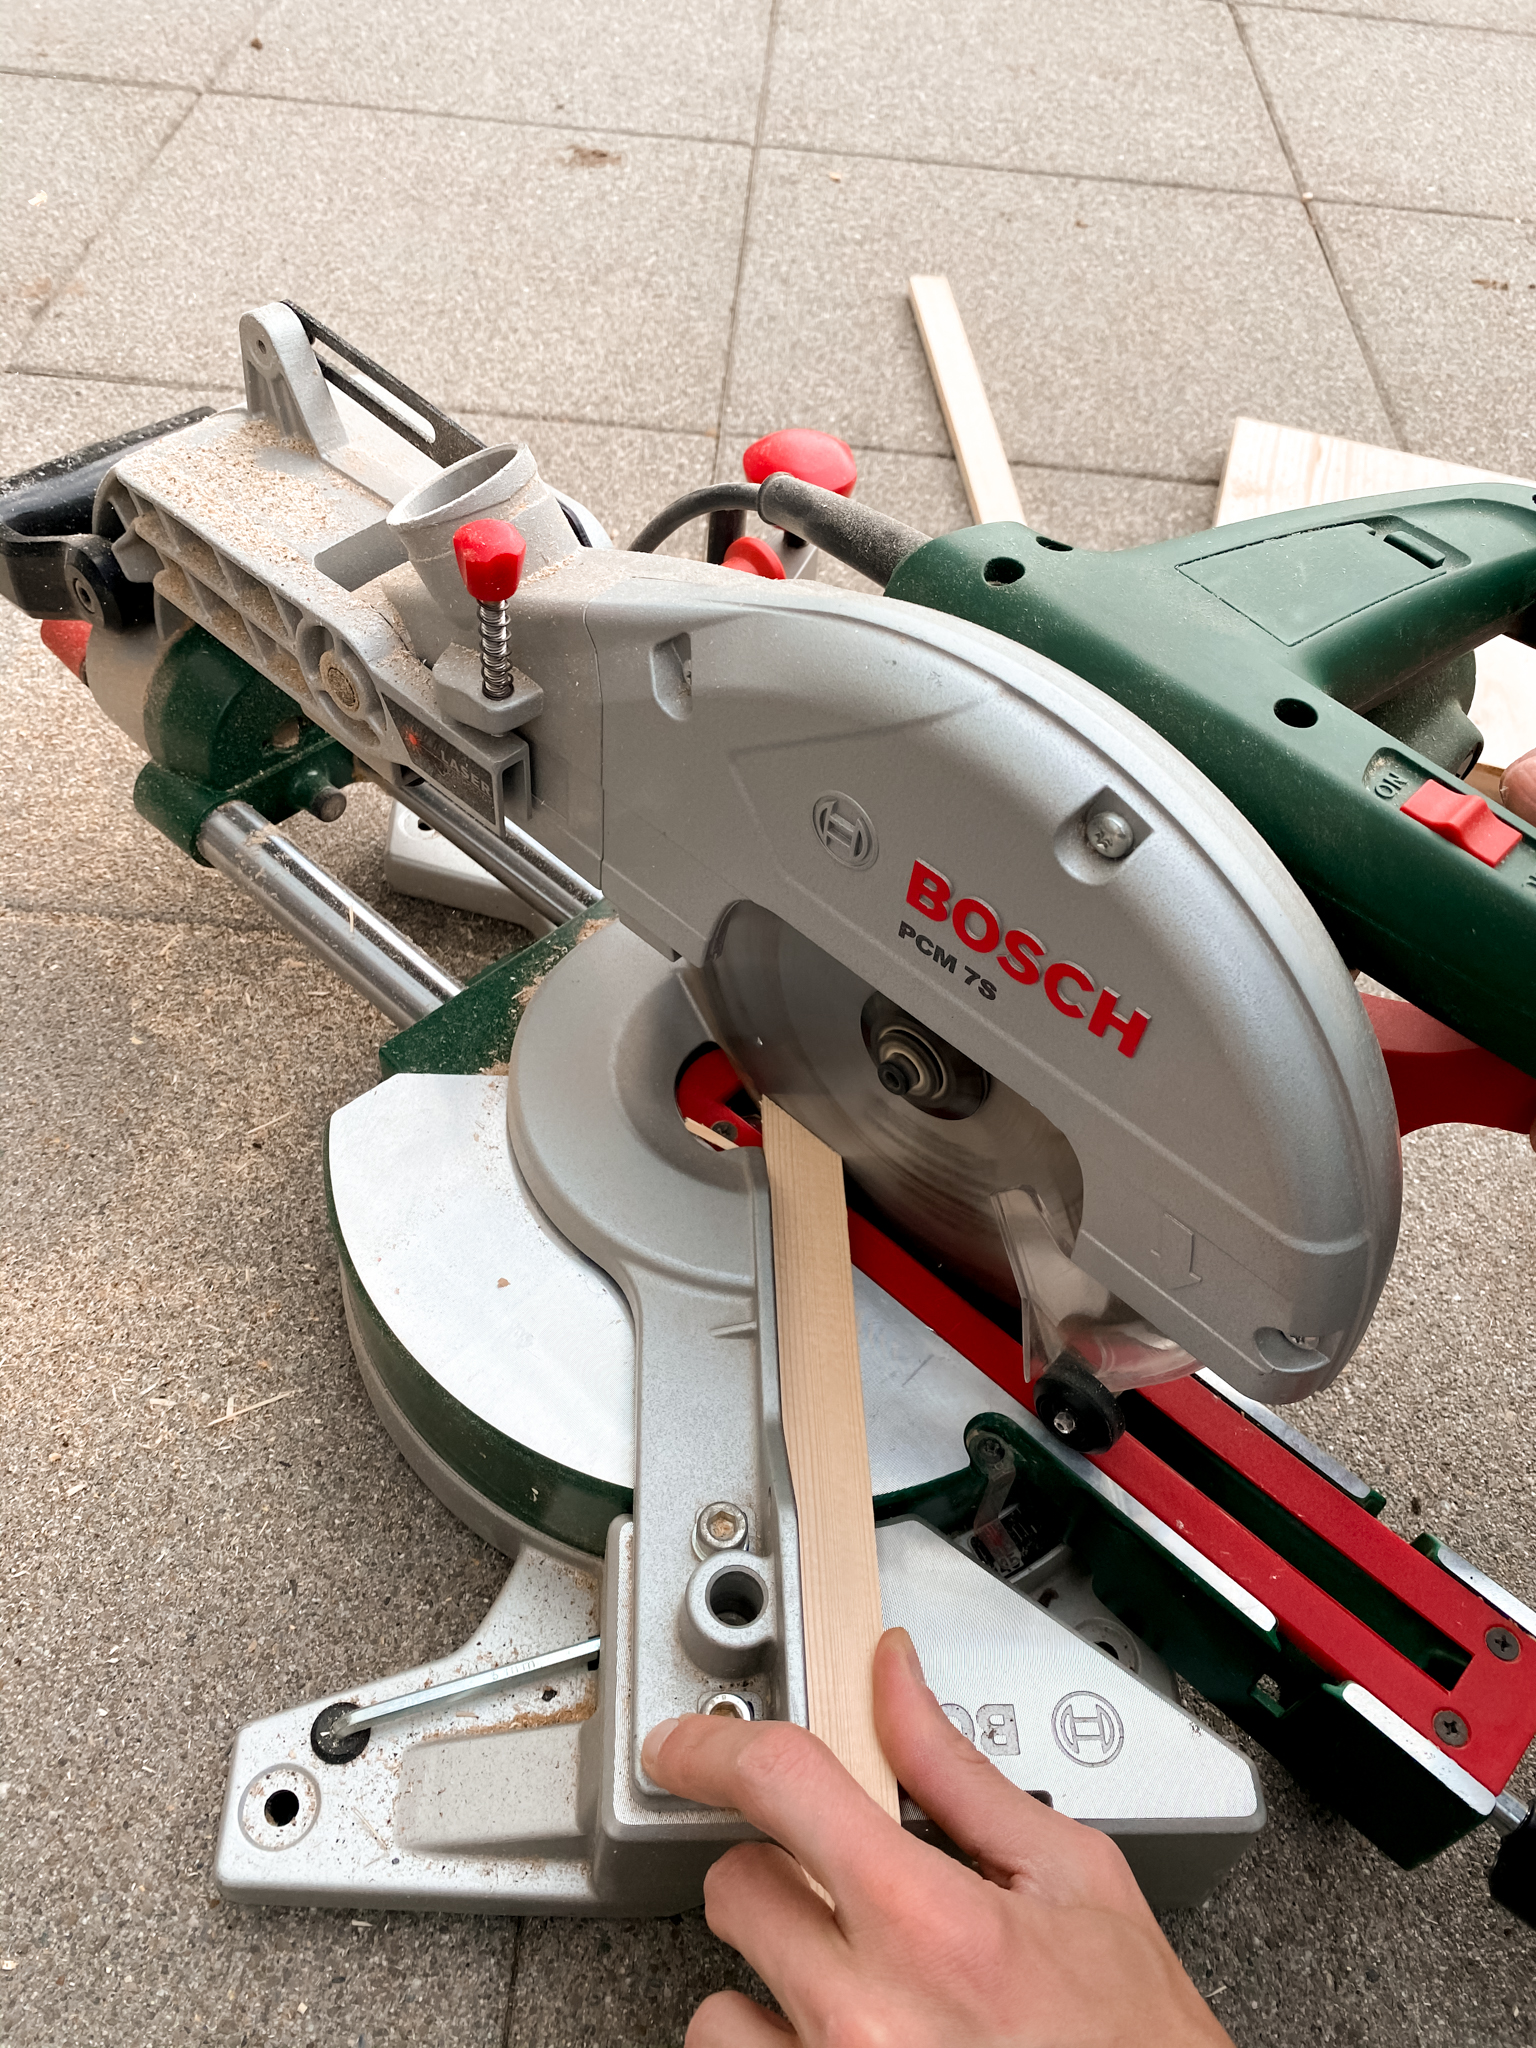
We start by cutting the wood for the box. First, measure the spruce wood panel to the following dimensions and then cut it with the circular saw:
1x 40 cm long
1x 44 cm long
2x 19,5 cm long
Alternatively, you can have the spruce board cut to the appropriate dimensions at the hardware store.
Then cut the rectangular strip to the following dimensions, each at a 45° angle:
- 2x 44 cm long
- 2x 17,5 cm long
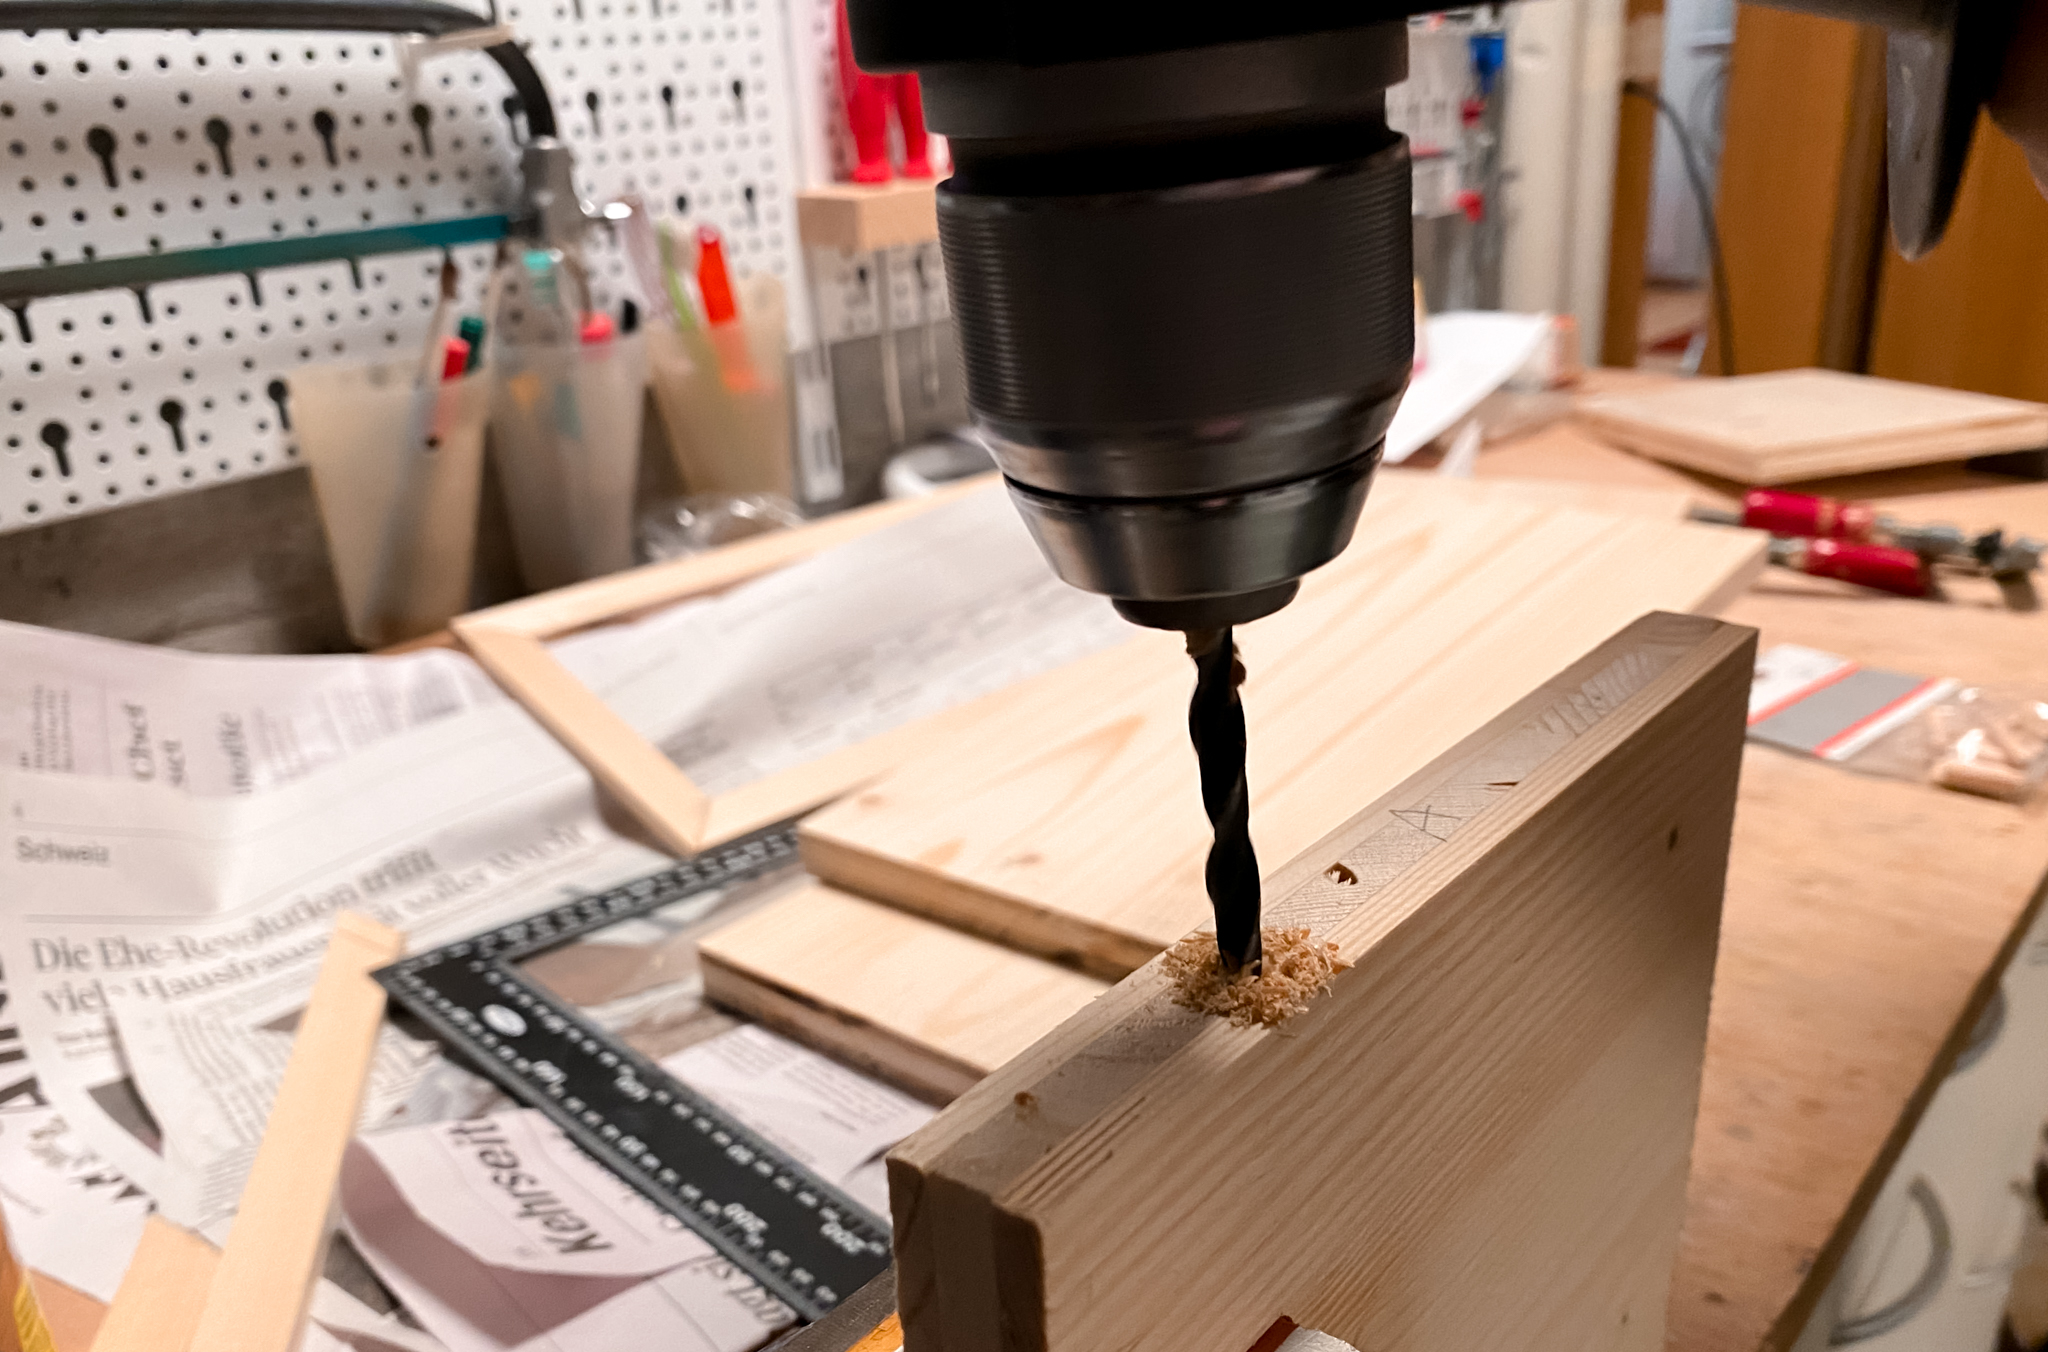
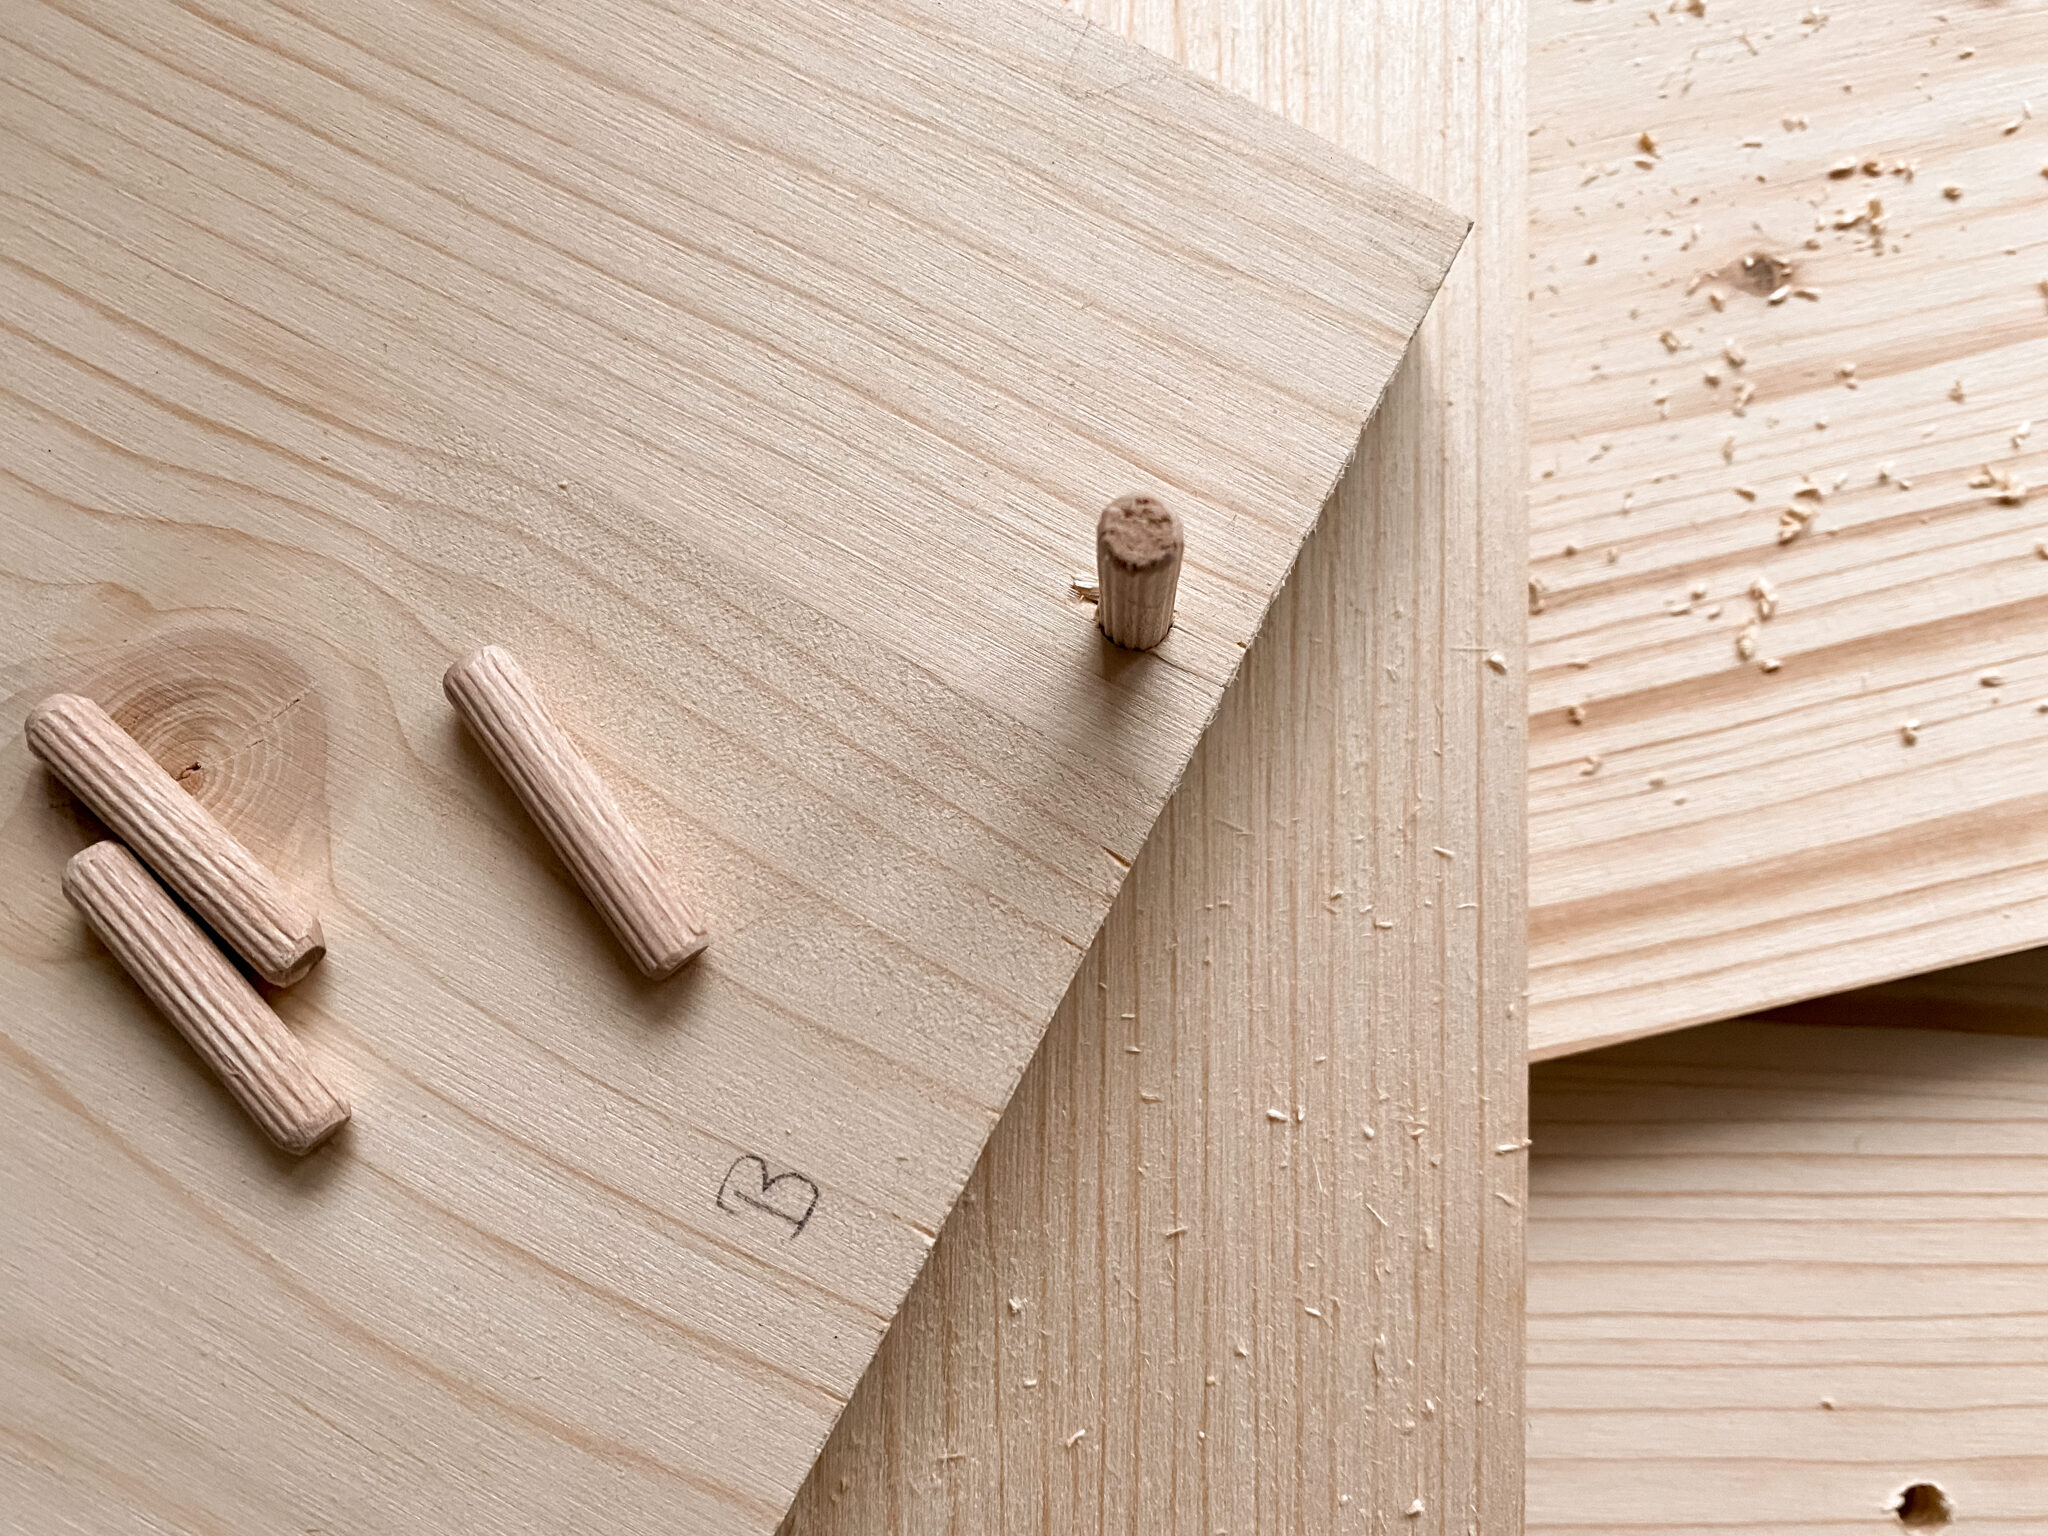
Drill holes in the cut boards so that the box can be put together and glued.
Step 2: Sanding
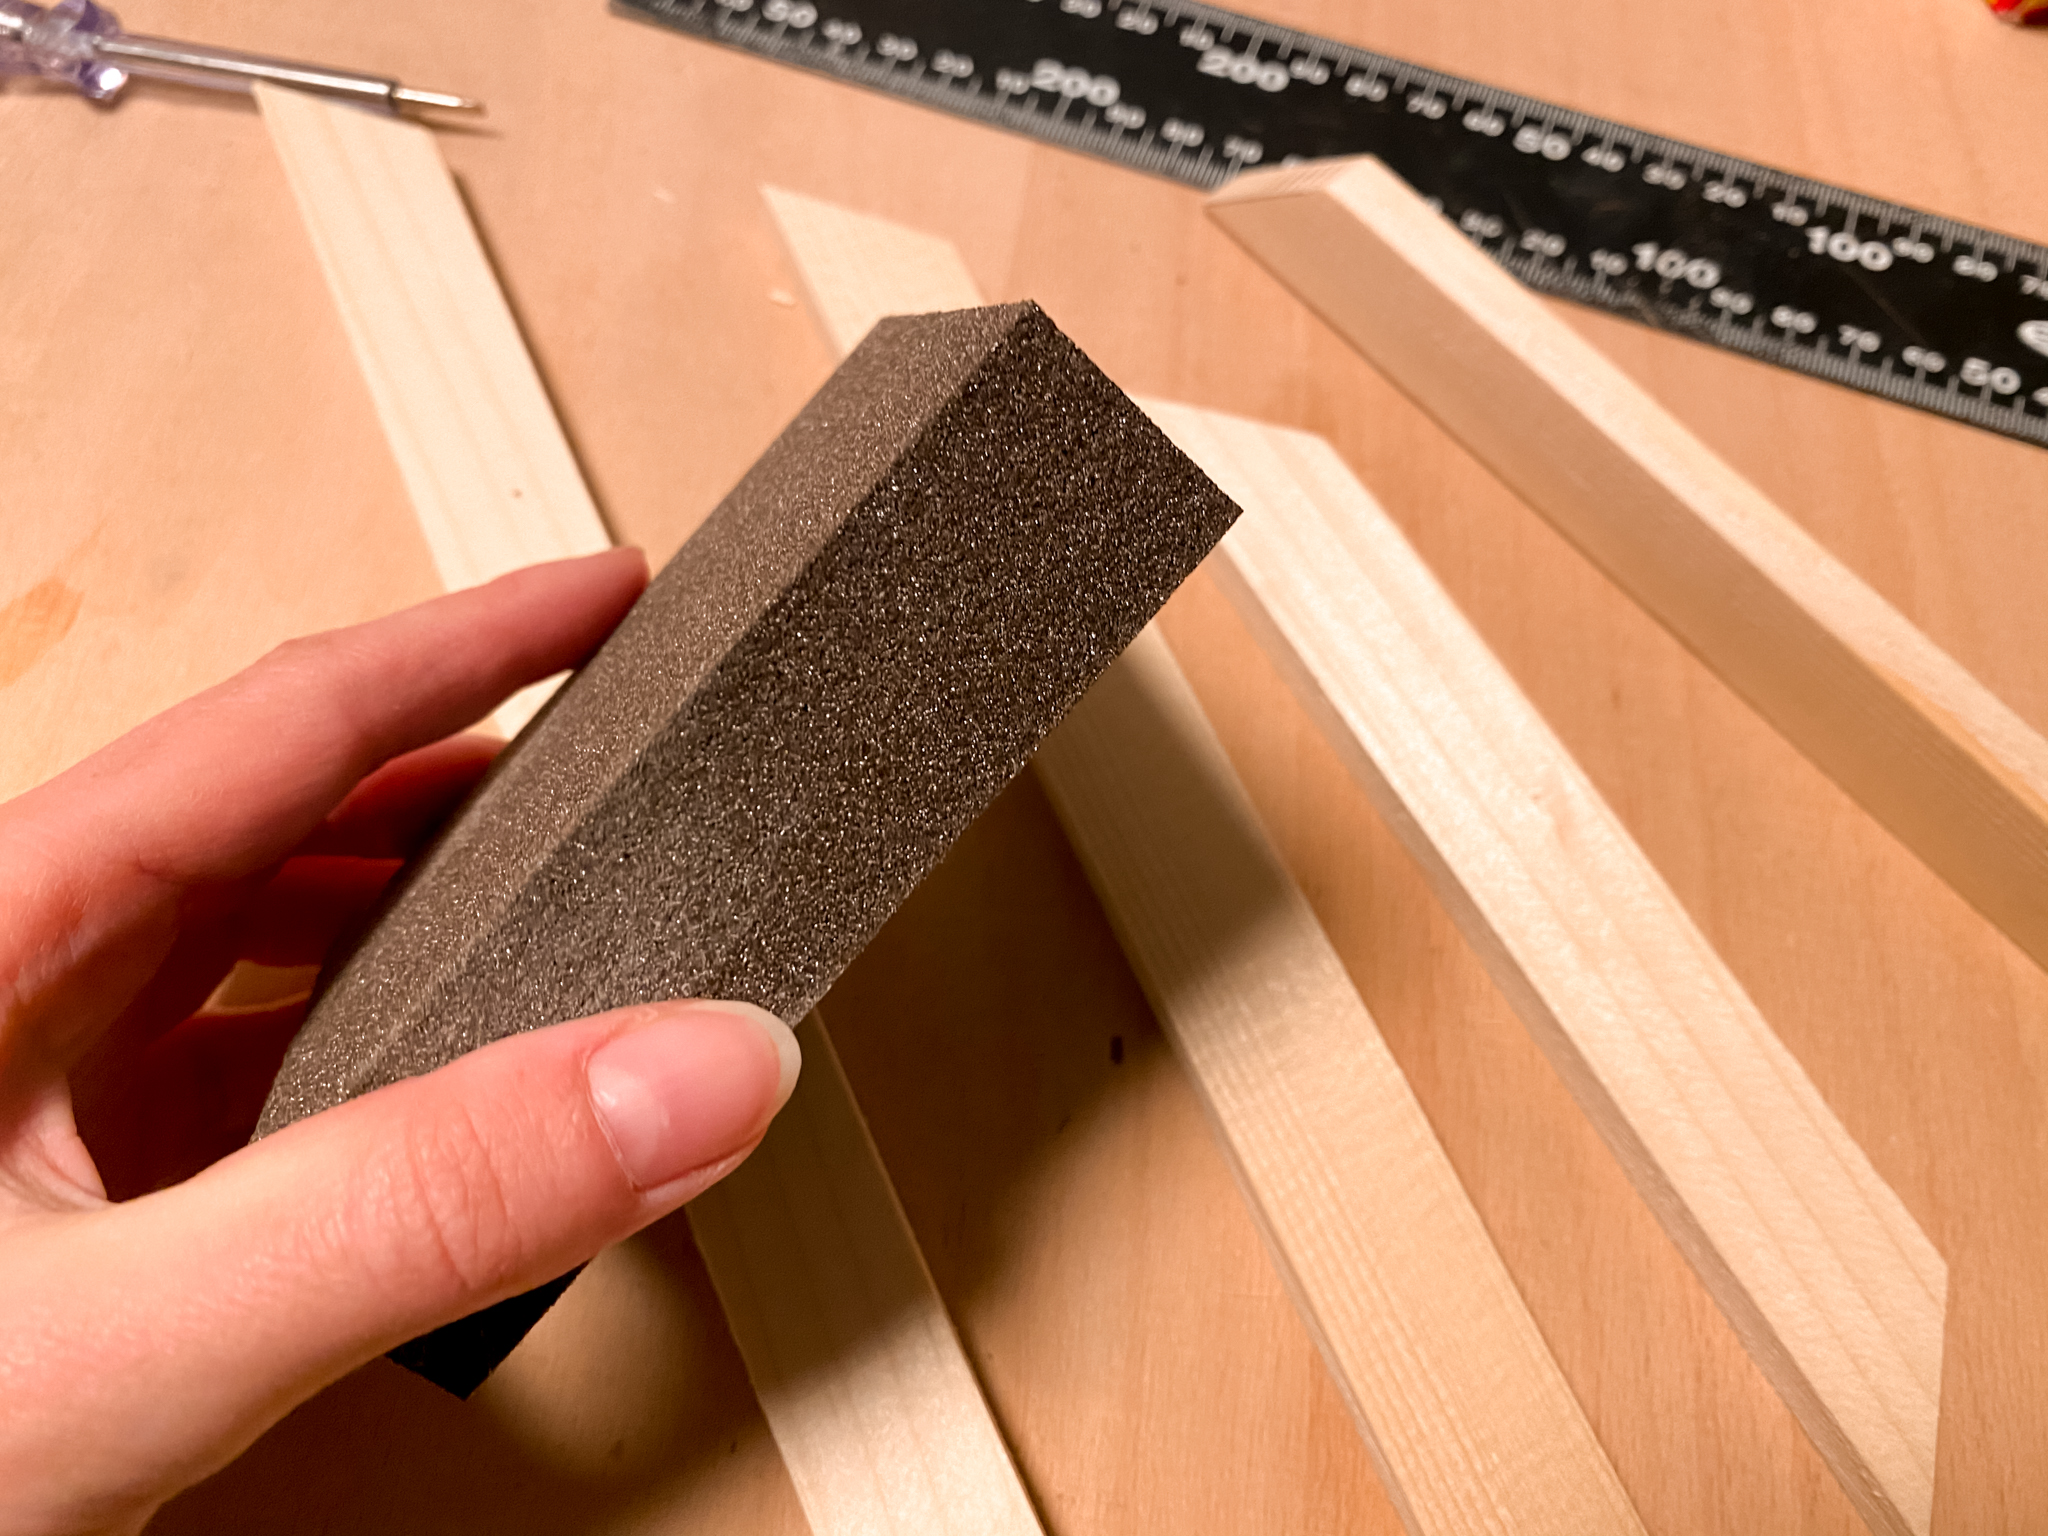
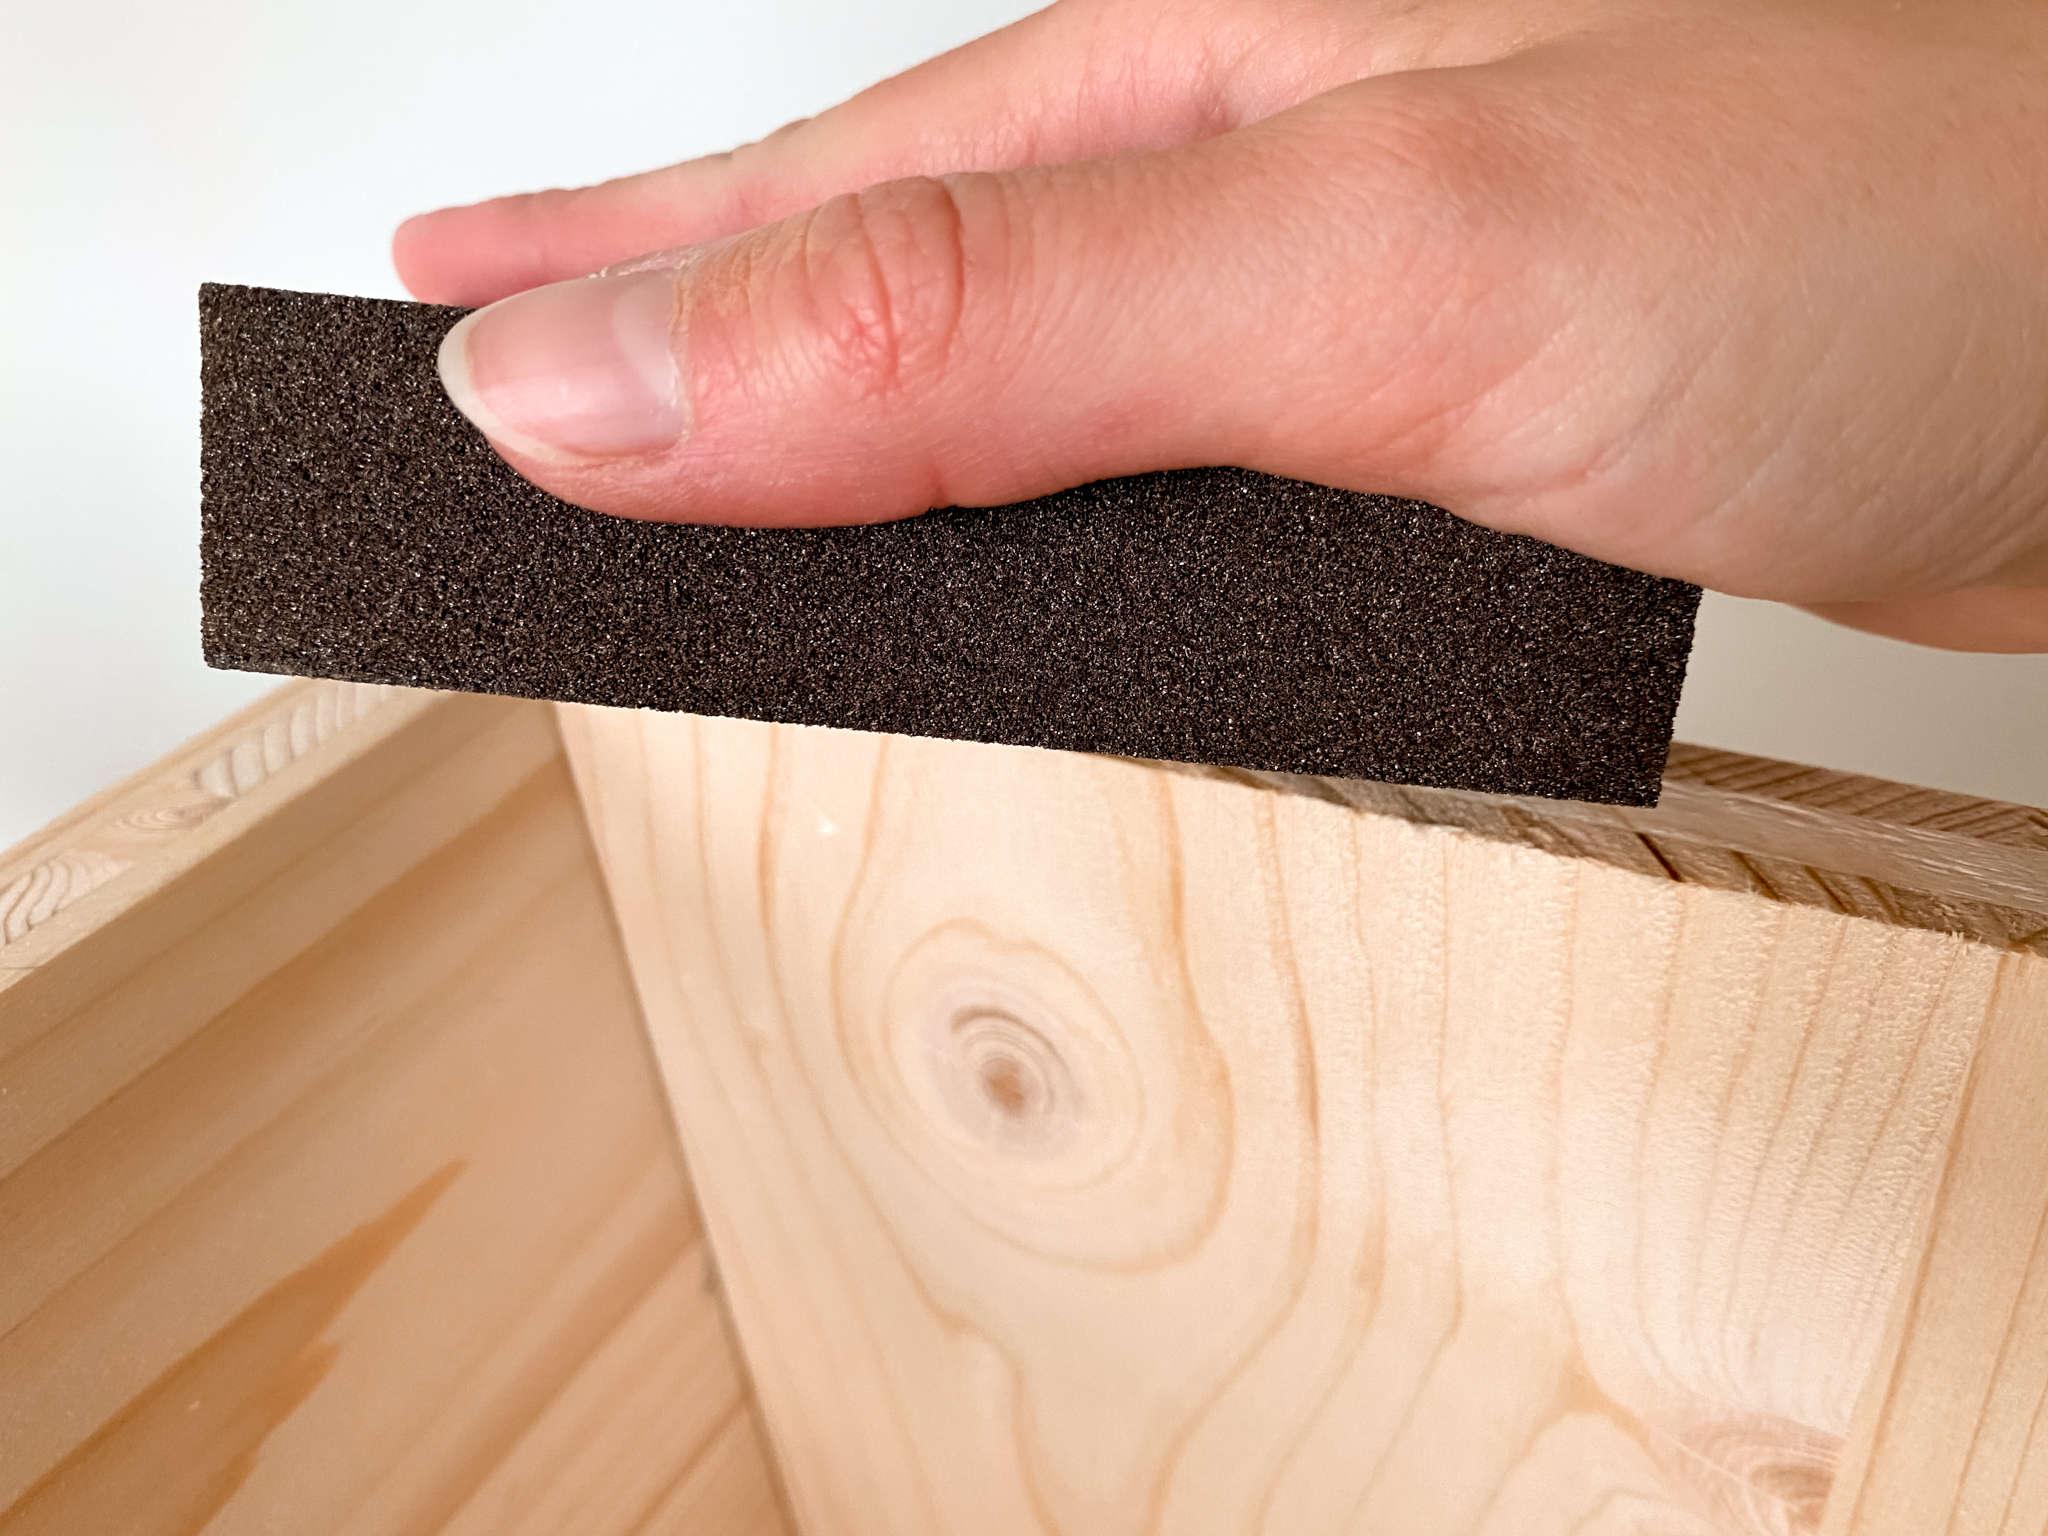
The next step is to sand all the wooden boards smooth. I use a sanding block and fine sandpaper. On the one hand, this serves for an even surface and on the other hand, small touch-ups of the cut edges can be made.
Step 3: The assembling
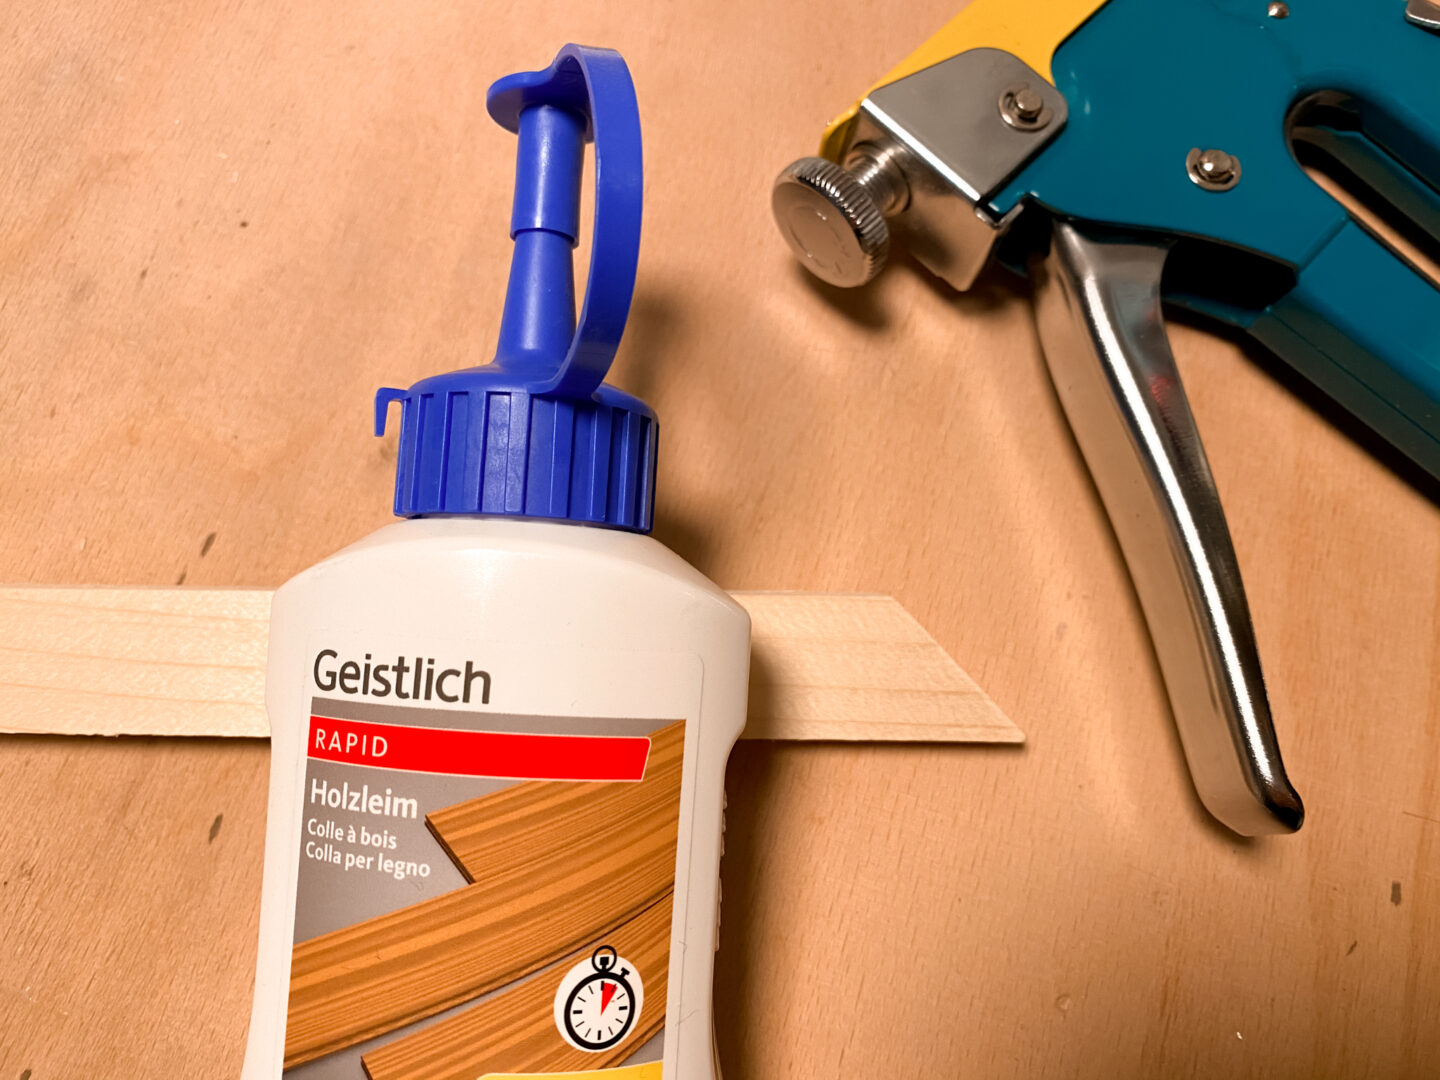

Now we slowly start to assemble the frame, for this we need the wood glue and the stapler. The frame is put together with the help of wood glue and stapler and must dry well afterwards. It is important to make sure that the glue does not get over the edges onto the surfaces that will be painted afterwards.
Now also join the box by means of the drilled and marked points. For this I use again wood glue and wood dowels. Then I weighted the box to dry.
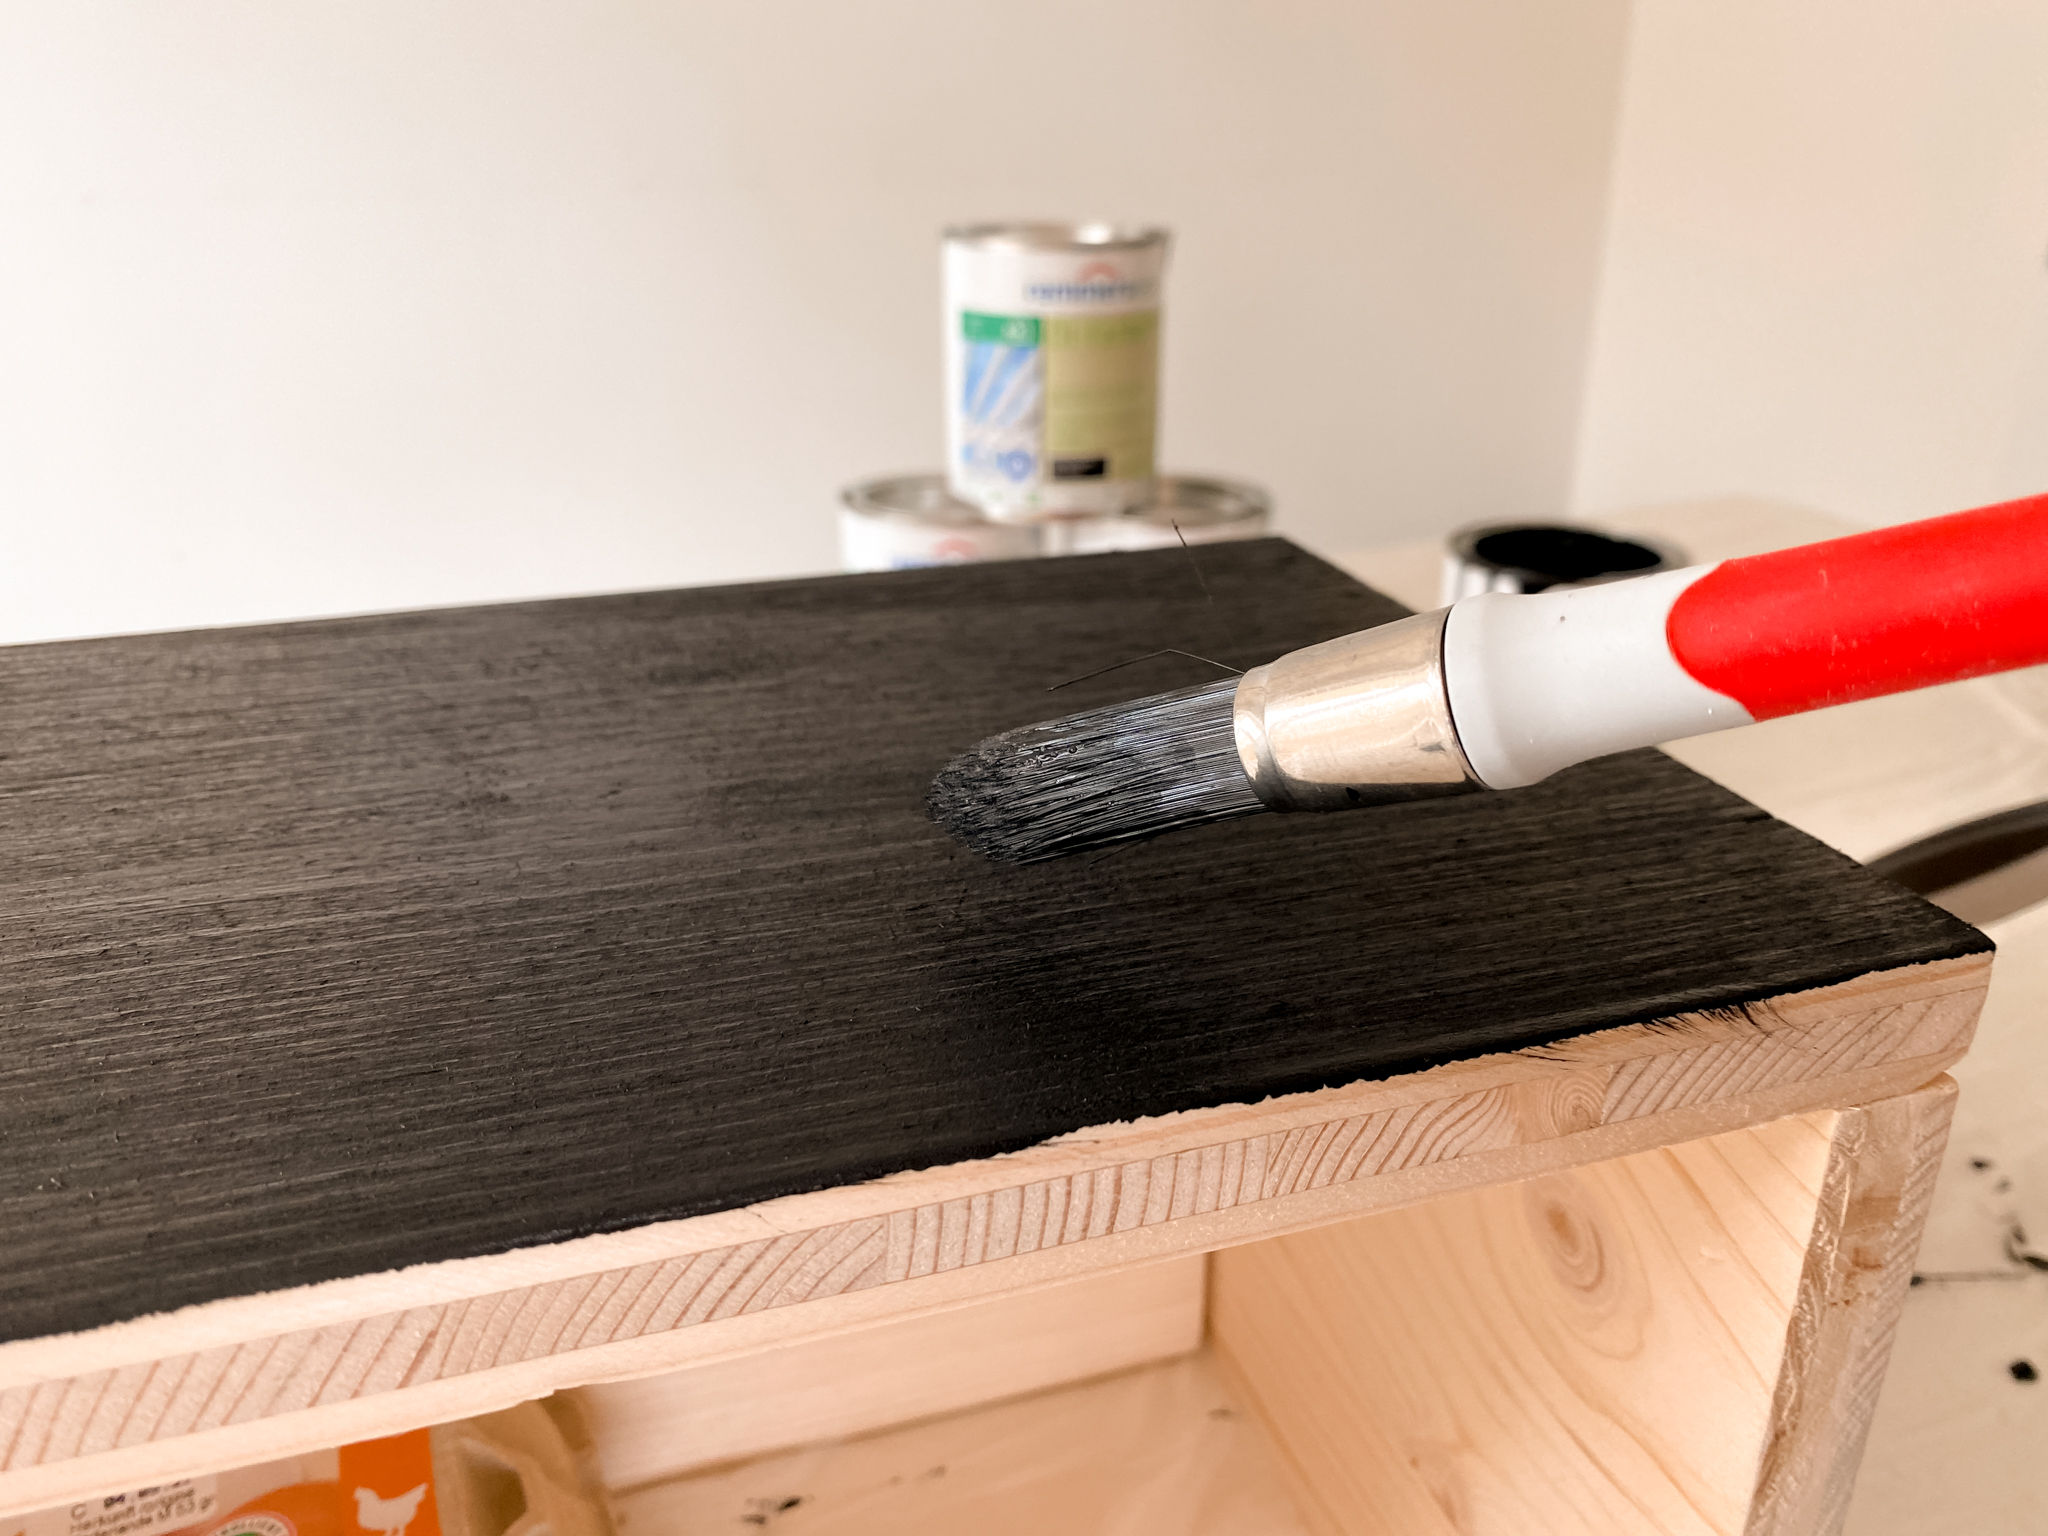
Step 4: Painting with remmers oil paint [eco]
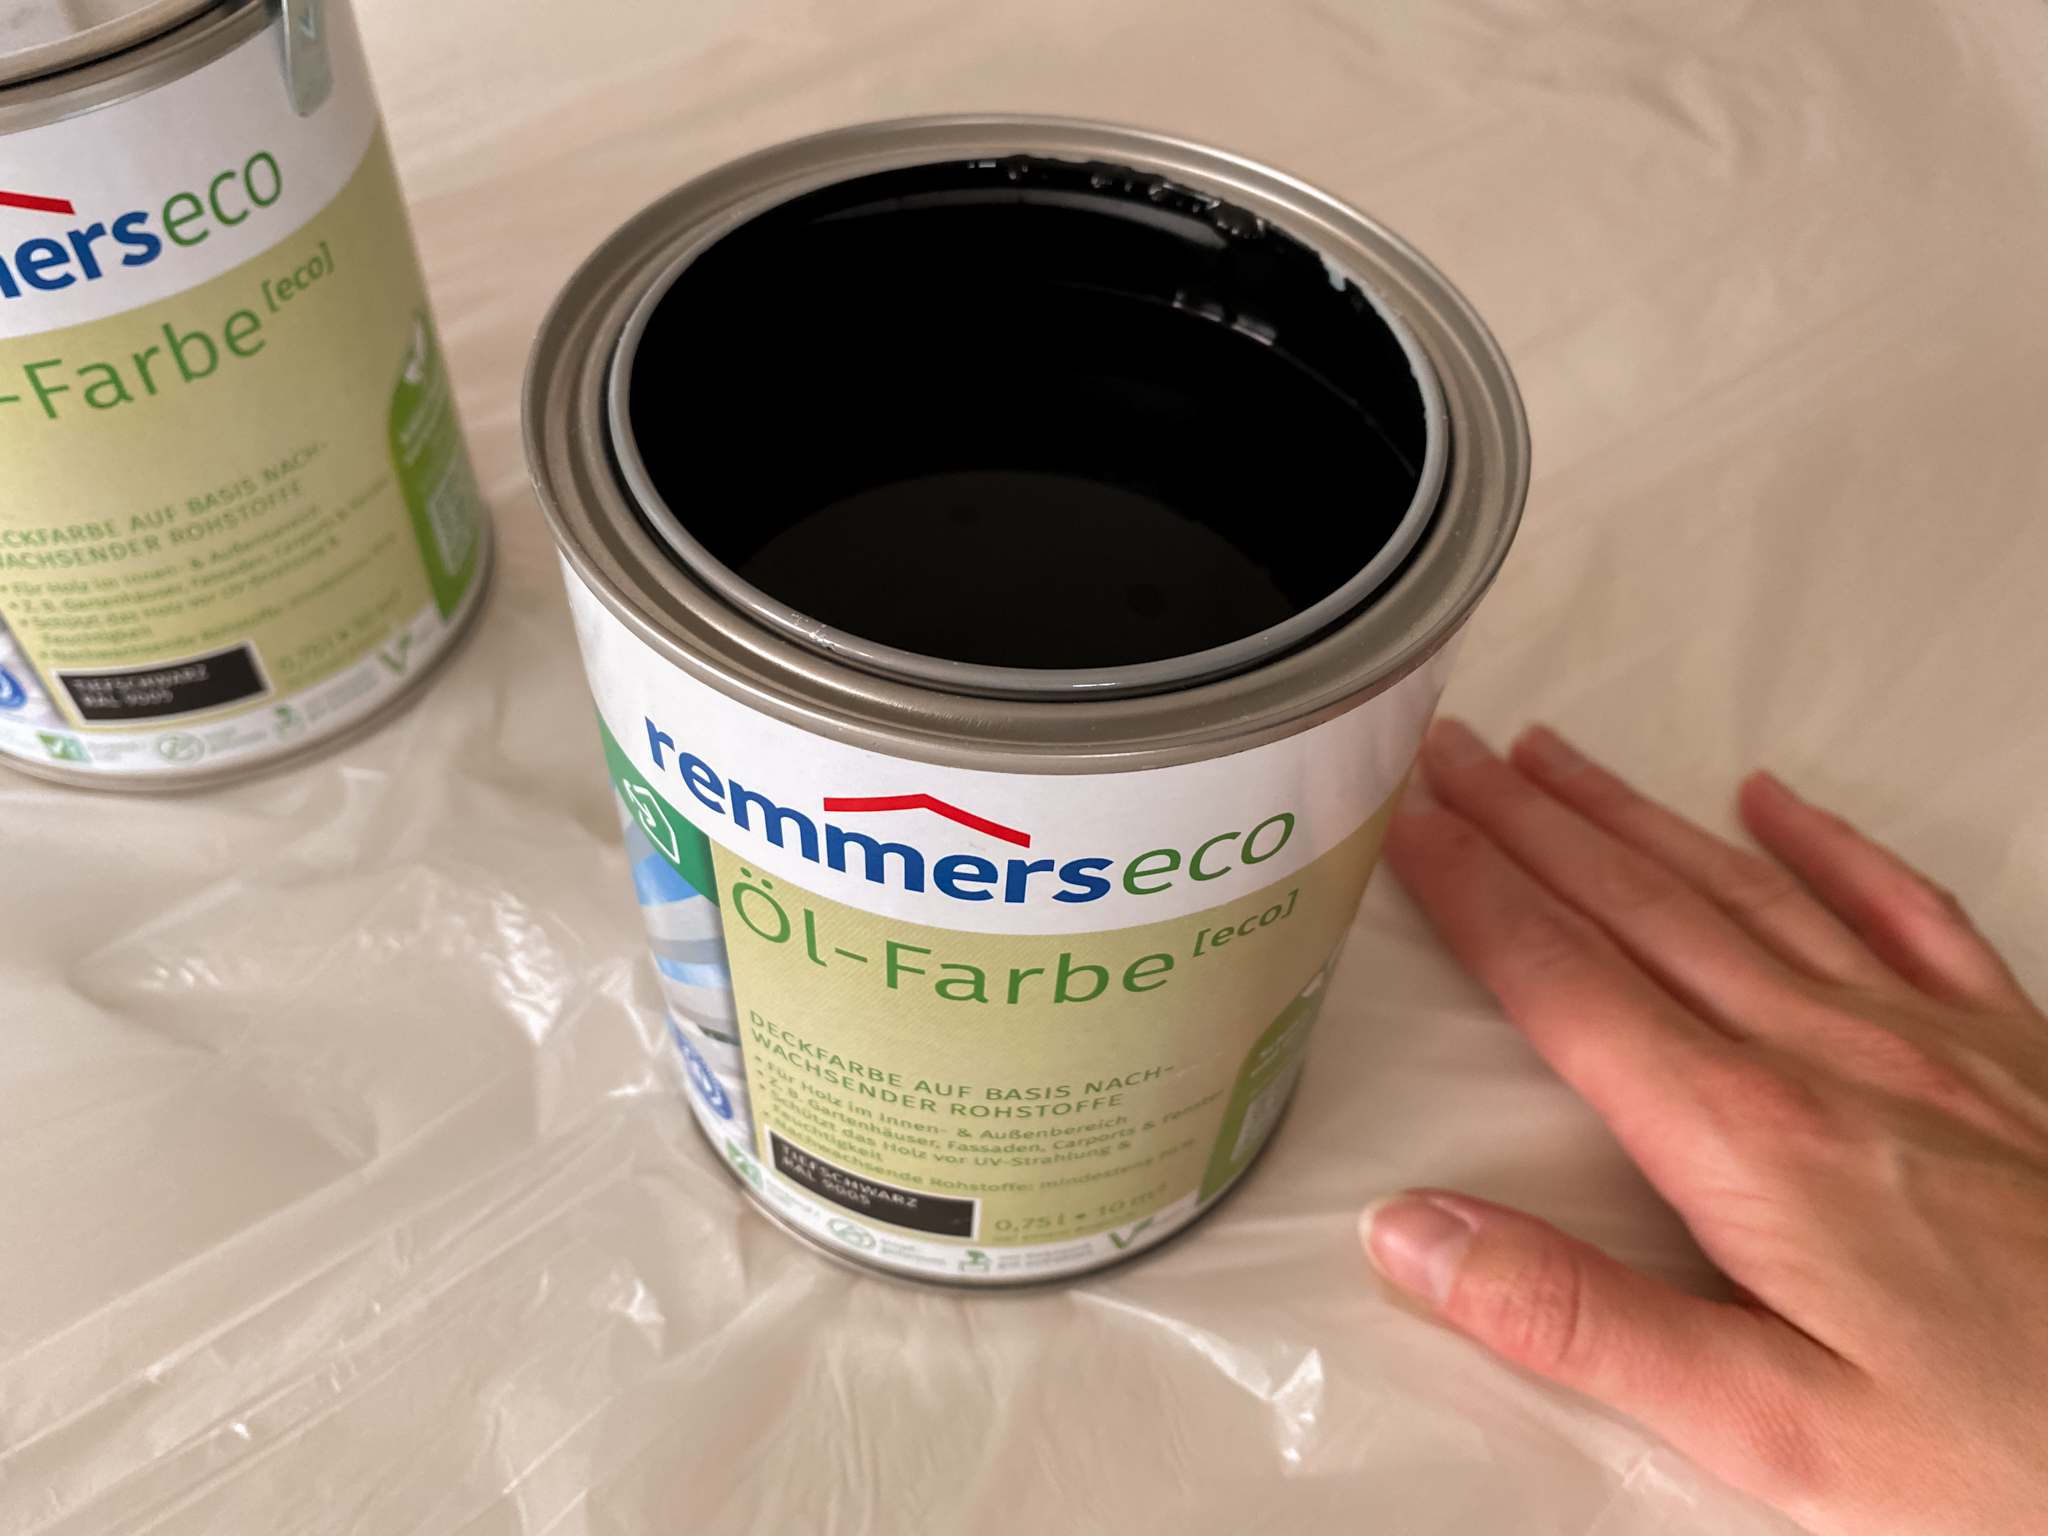
Now we come to my favorite part of this DIY and that is painting the box and the frame of the future plant box. For this I use the remmers oil paint [eco] in the color shade deep black. You can of course paint the plant box in any other color. Before I start painting, I protected my work surface with masking film. In addition, you should ensure adequate ventilation indoors.
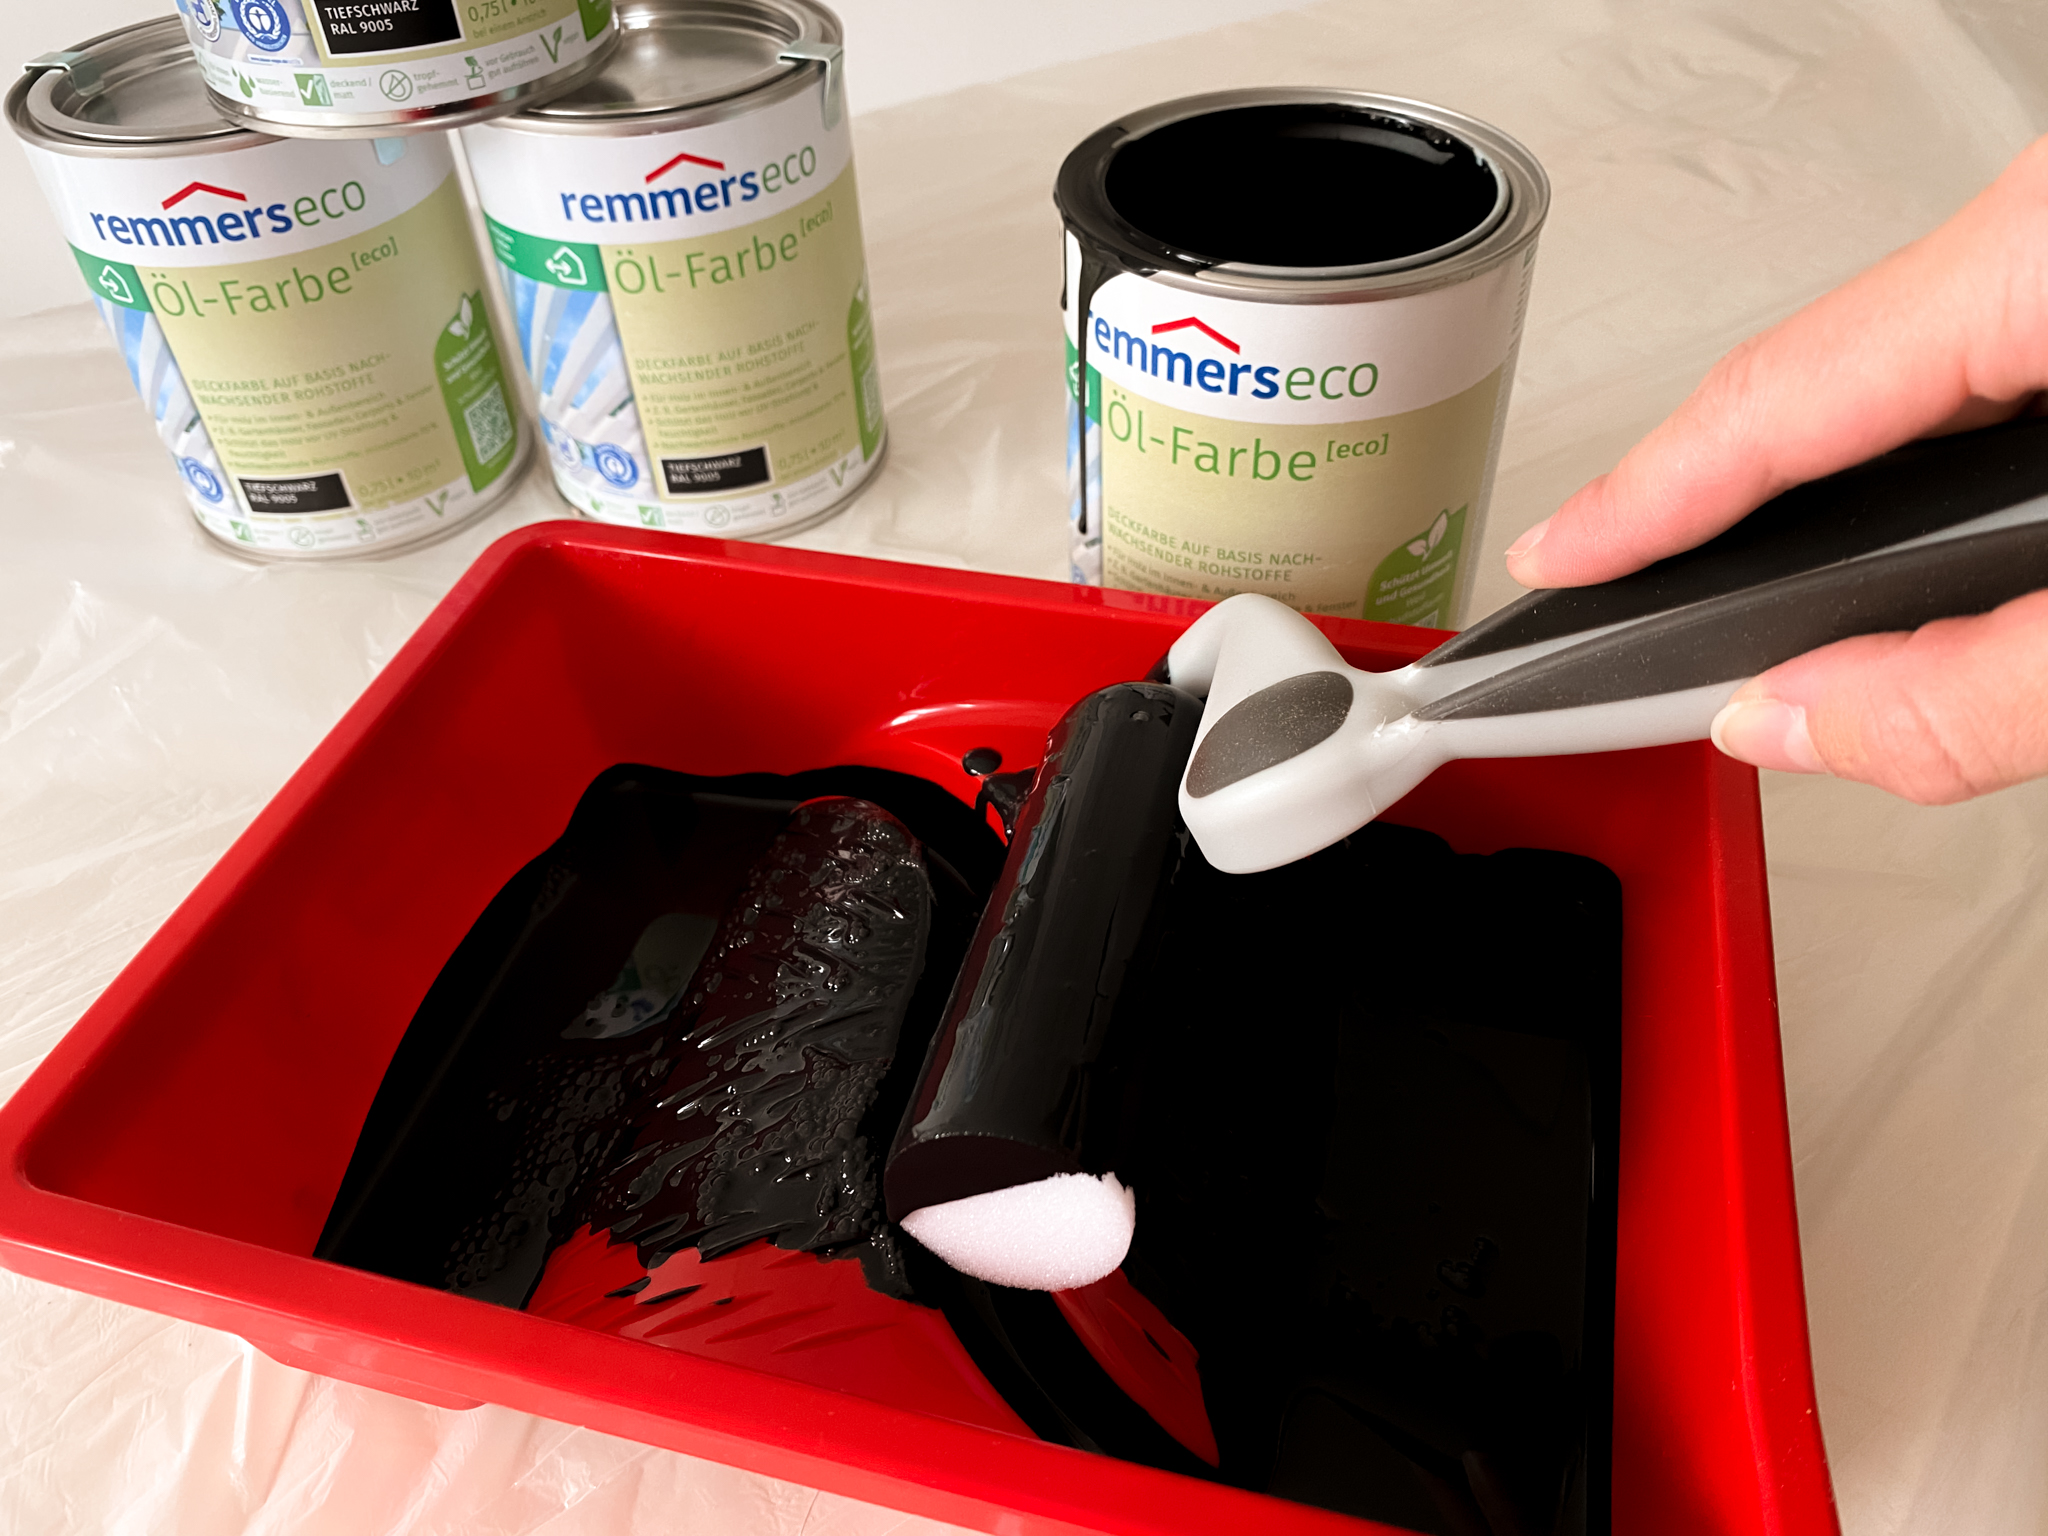
For application I use an acrylic bristle brush and a mohair roller. Before I start painting, I stir the material well. Then apply the paint quickly by brushing or rolling. Allow the paint to dry for 6 hours after the 1st coat. Then apply the 2nd coat.
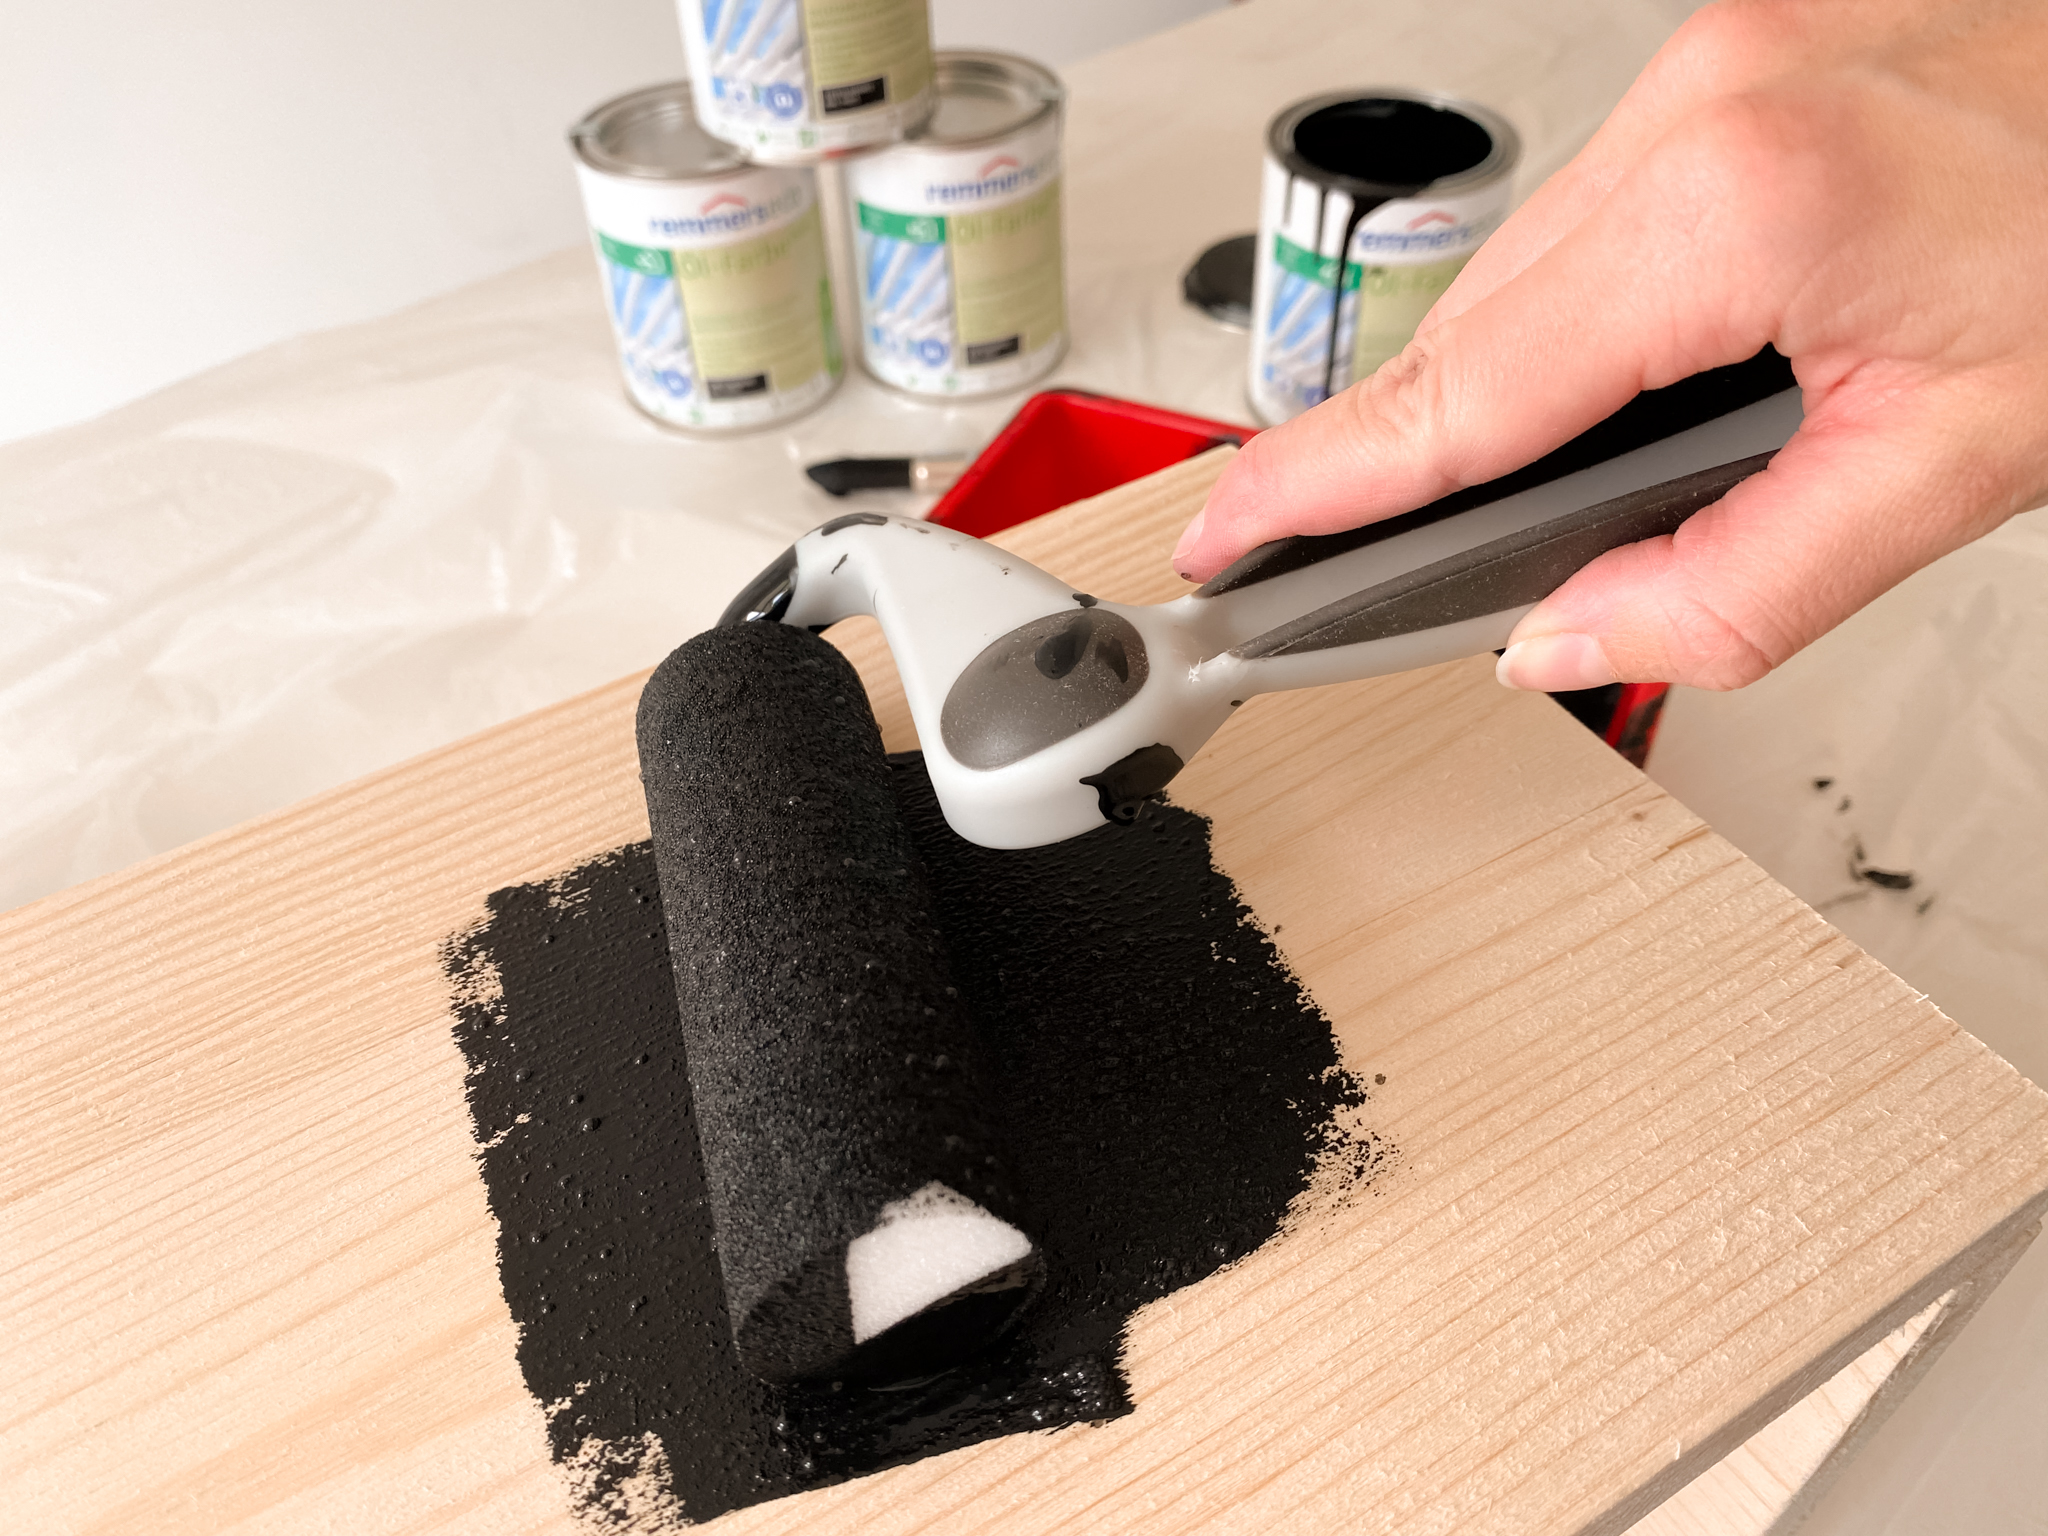
The great thing about remmers oil paint [eco] is that all color shades can be mixed with each other. For medium and dark shades, 2 coats of oil-based paint are recommended. For white and light shades, 3 working steps with oil-based paint are recommended.
Step 5: Clamp the woven wire mesh and finish the box
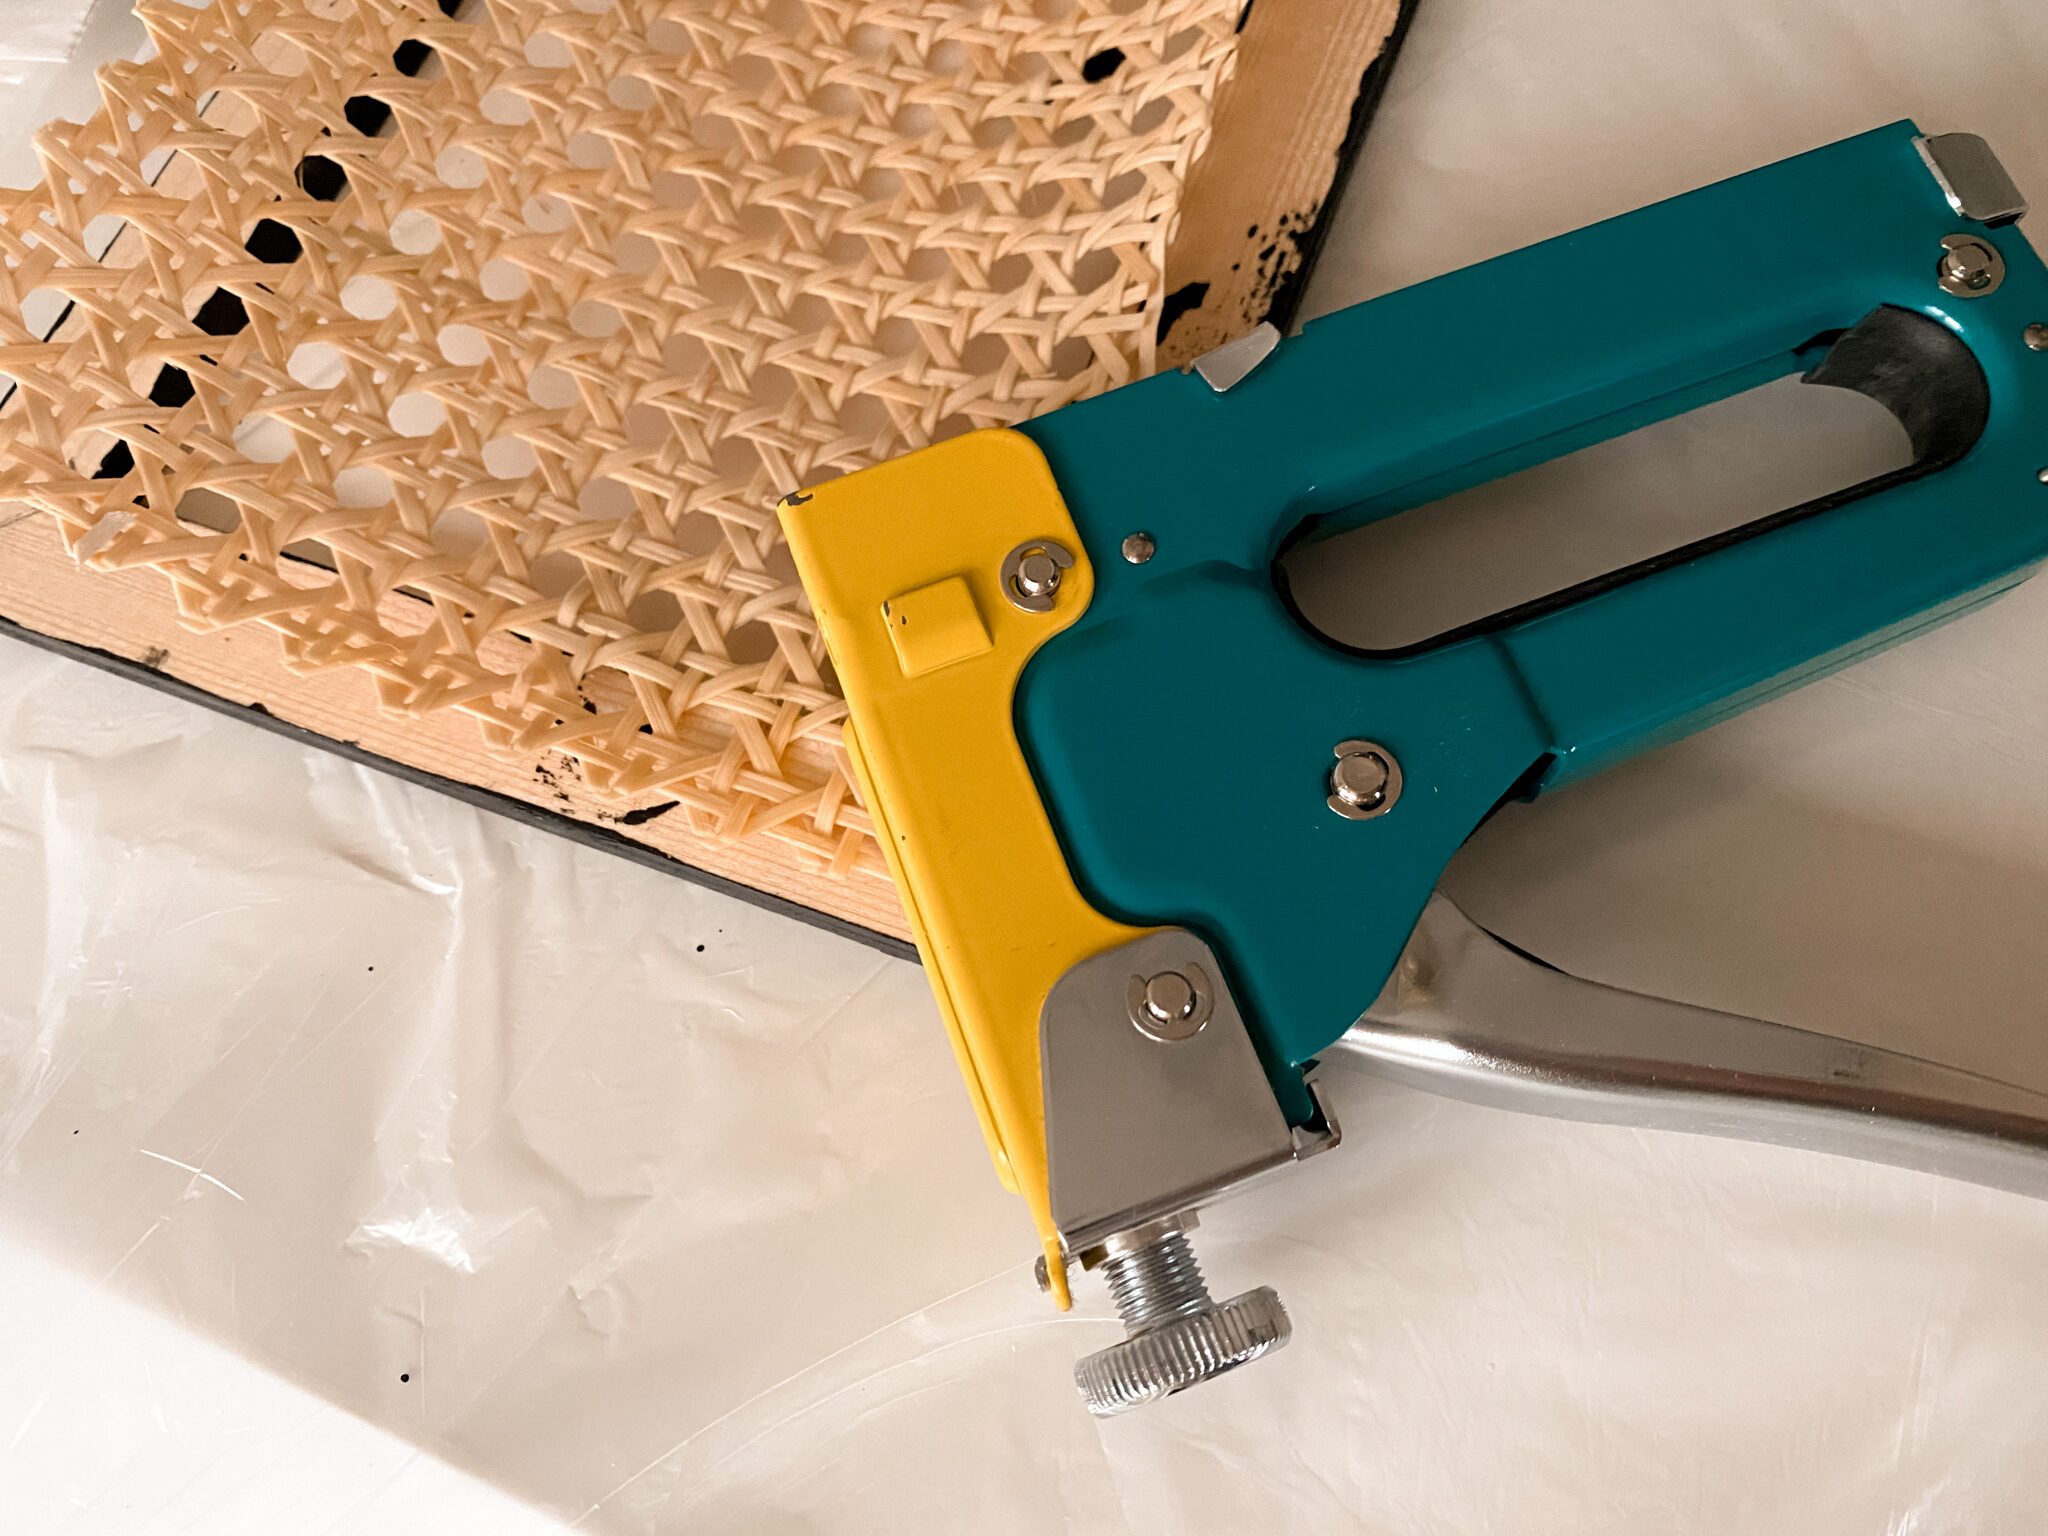
After both box and frame have dried well, we come to the completion of our DIY. The first step is to clamp the Viennese braid. Cut it to size and soak it in lukewarm water for about 30 minutes so that it can be easily clamped and bent. Then fix it with wood glue and a stapler.
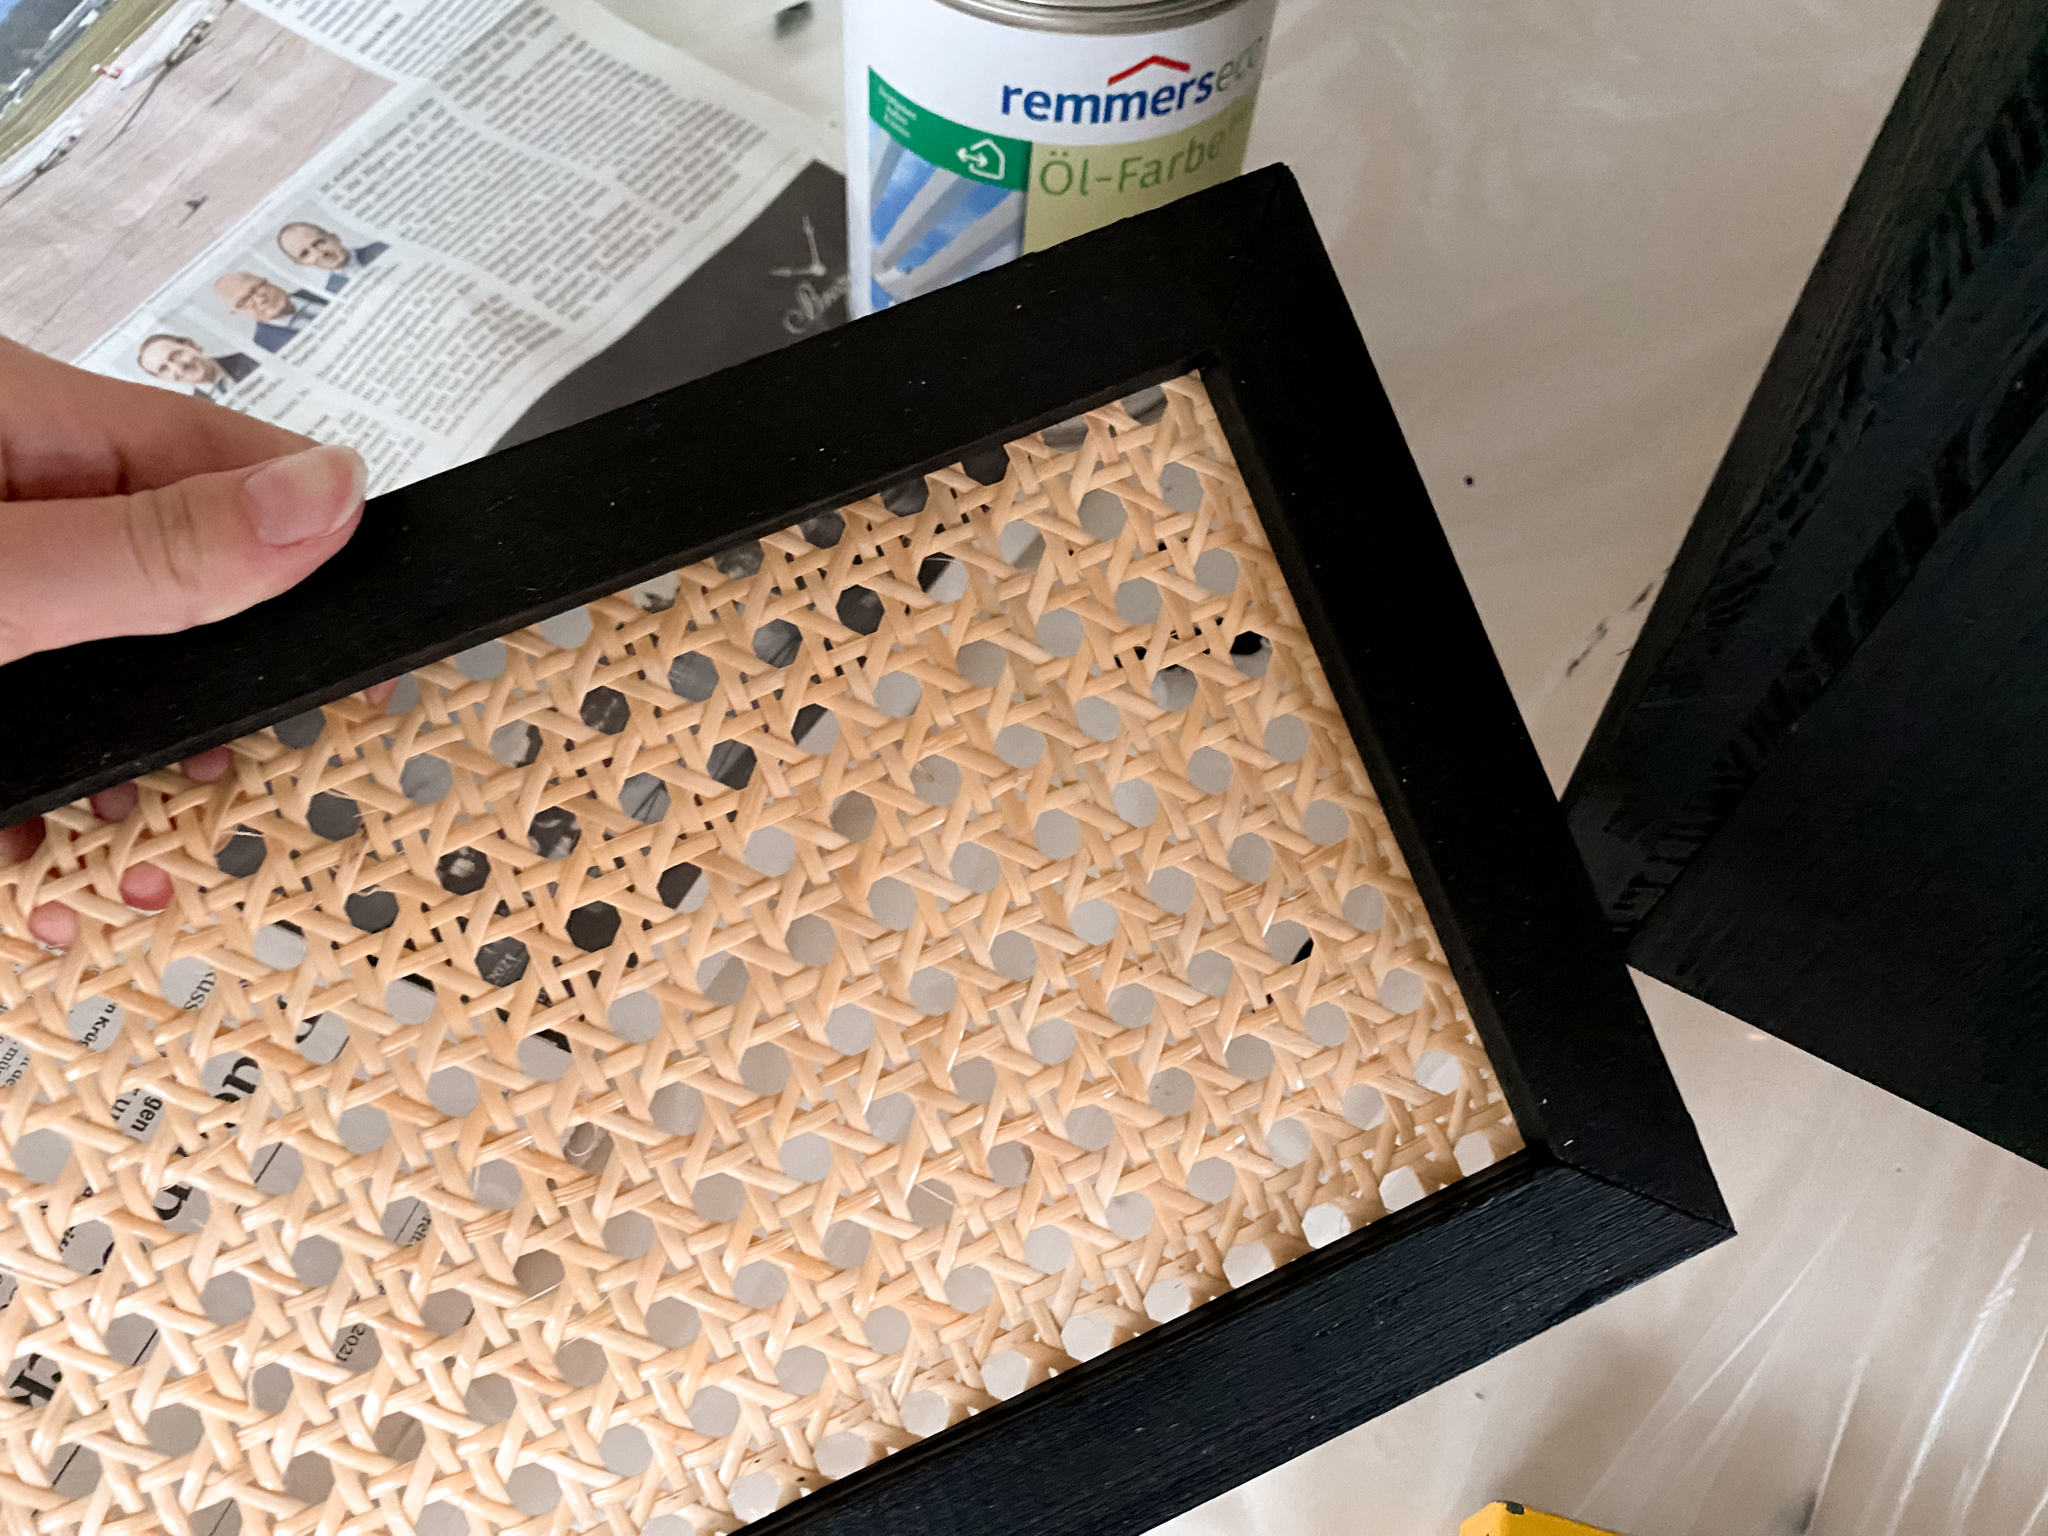
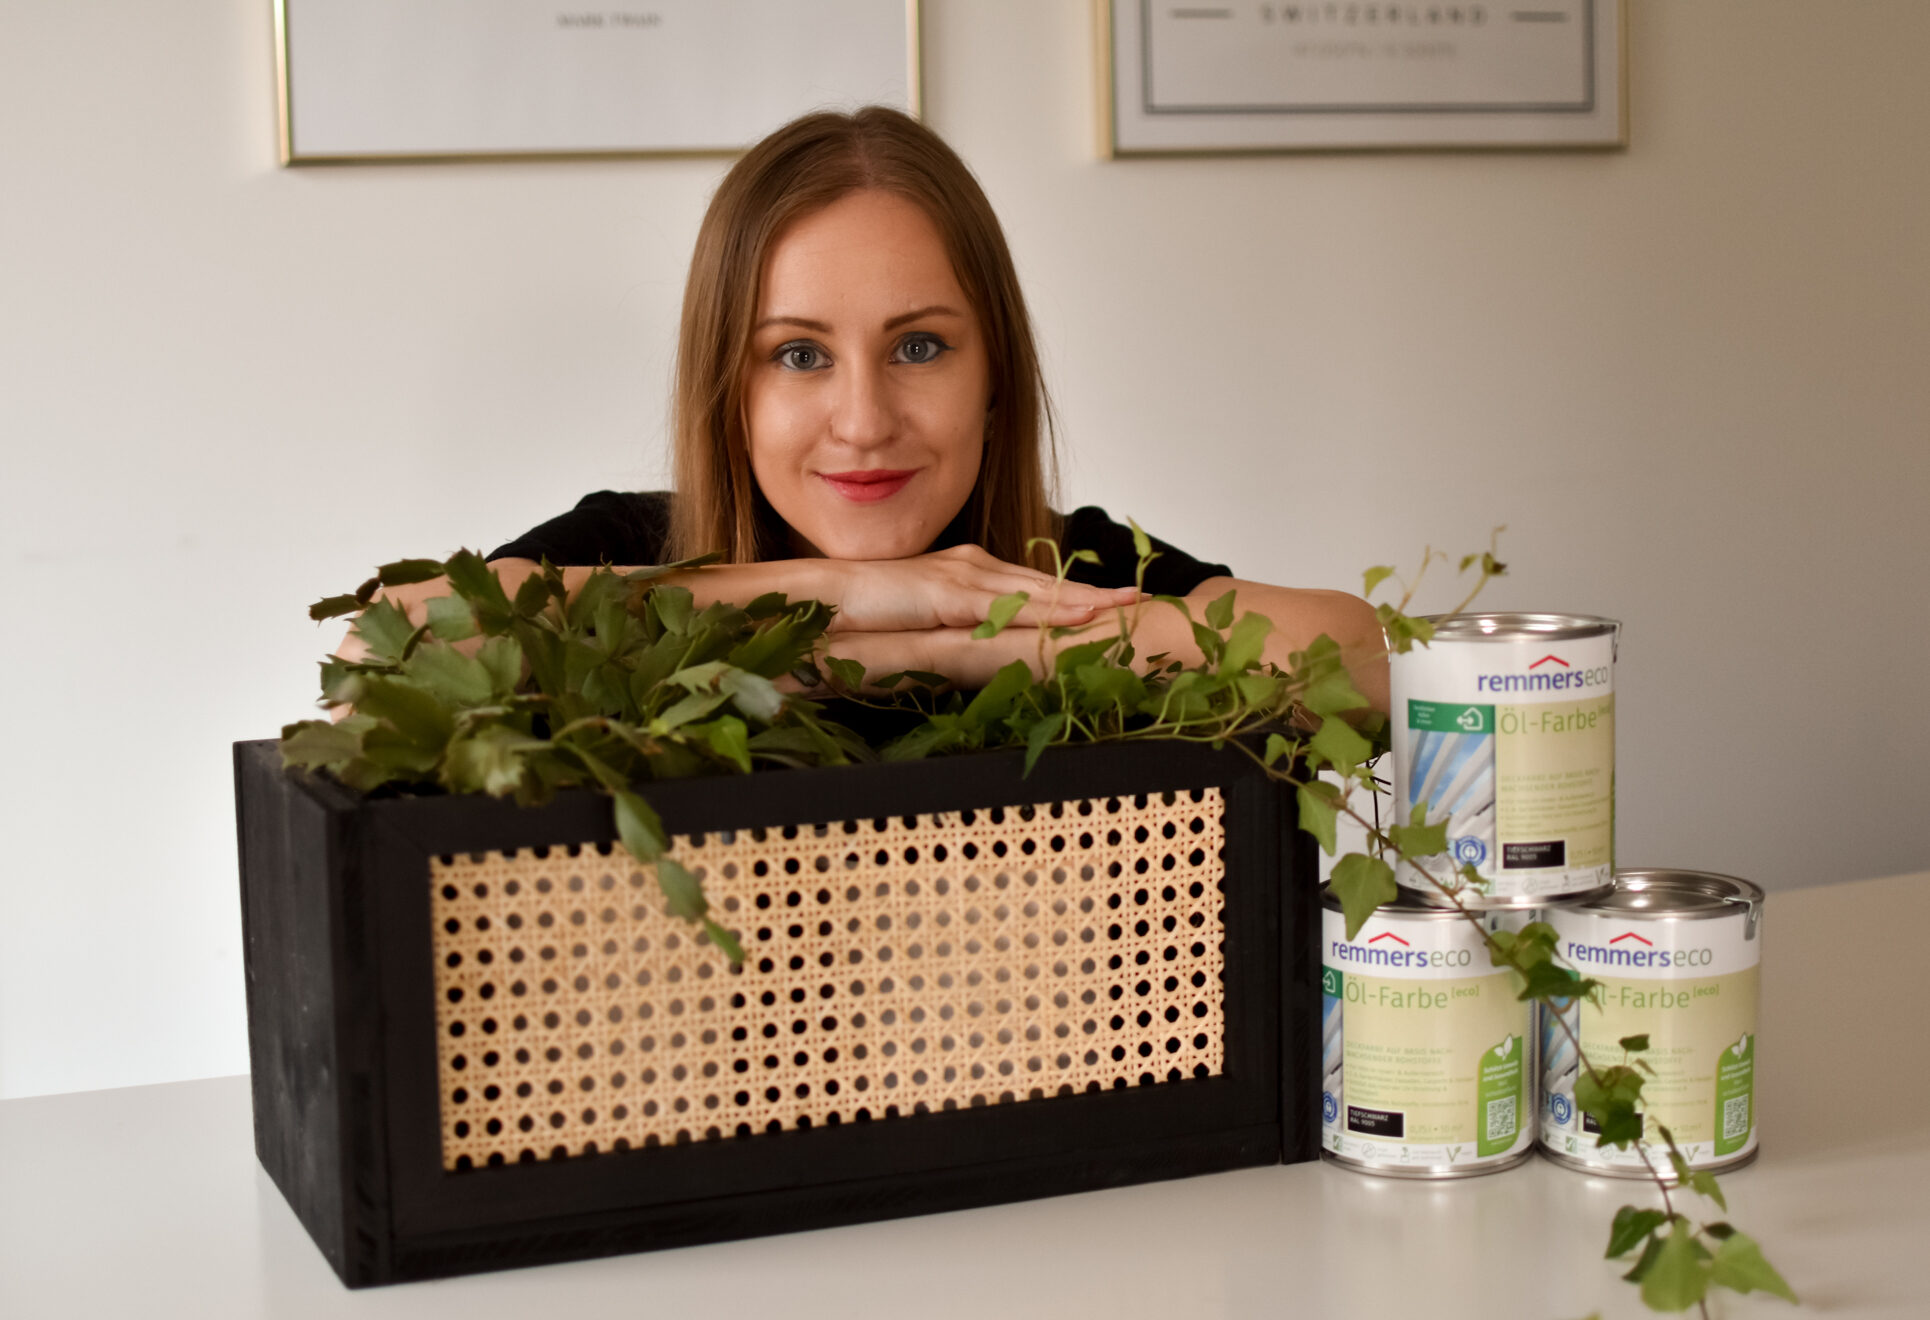
This is how it should look like. Now glue this frame into the box with wood glue. Voilà ready is our DIY plant box with wickerwork. I am super happy with the result and can highly recommend the remmers oil paint [eco] for your next DIY project – both for indoors & outdoors.